Choose your favourite things and curate your exhibition

You will need:

  • paper and a pen or pencil
  • some favourite objects
  • drawing materials*
  • a camera or mobile phone with a camera*

(*optional for using the activity in the classroom)

Activity instructions

Step 1: Choose your objects

To curate your real-life exhibition at home or in the classroom you will first need to select your favourite things.

As an example, we asked Art UK Learning Officer Katie to pick out some of her favourite things she has at home.

One of her favourite things is a hand fan.

One of Katie's favourite things – her Spanish hand fan
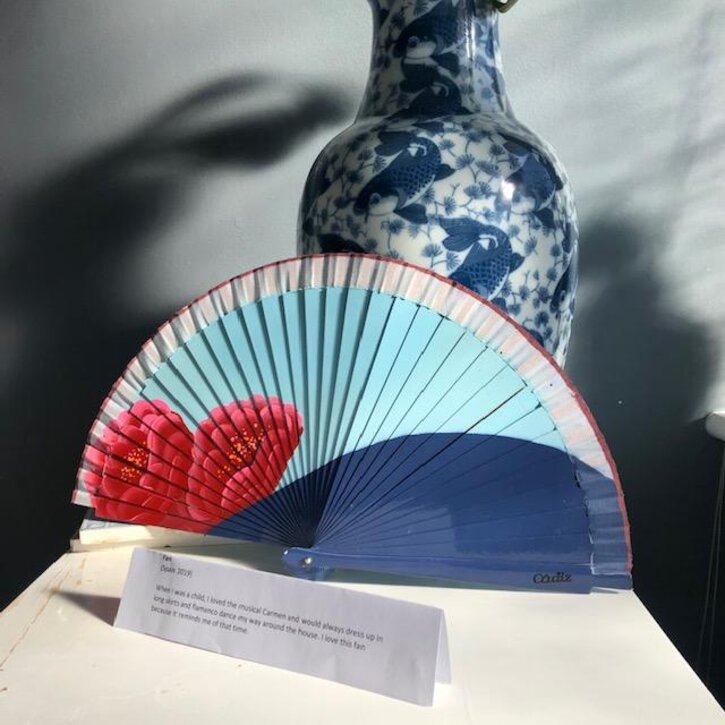
One of Katie's favourite things – her Spanish hand fan

She then chose more of her favourite things.

These salt and pepper shakers are one of Katie's favourite things!
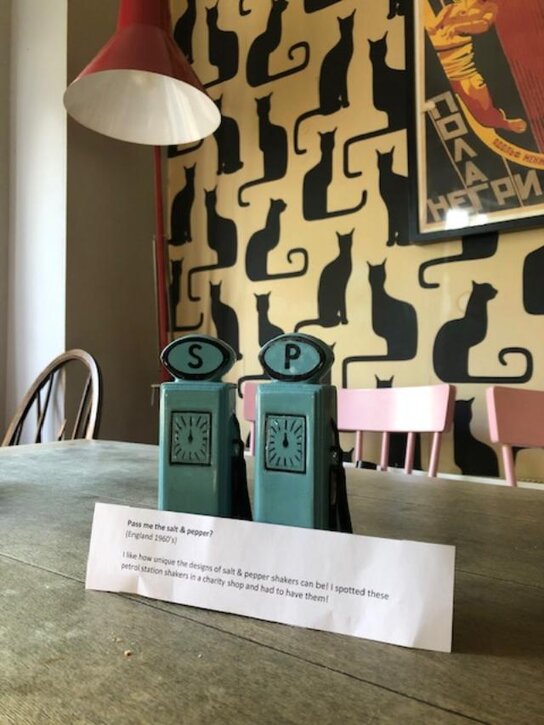
These salt and pepper shakers are one of Katie's favourite things!

  • Choose around 3 to 5 things for your exhibition.

Teachers' note

You could create a group exhibition in the classroom by asking students to each bring in a favourite thing from home. This could be anything from a favourite item of clothing or toy to a favourite food. The objects should be portable – and not valuable!

Alternatively, ask students to draw or photograph their favourite thing as a homework project. They could either choose something from home or you could suggest a theme, e.g. something they see on their journey to or from school or over a weekend. (This could be a tree, flower, car, cat or friend!)

For tips on drawing objects, use this drawing activity:

Draw five inspirational objects

Step 2: Write your exhibition labels

If you go to a museum or gallery, you may notice that objects and artworks displayed there have a label, which tells us all about them.

Write a label for your objects. It could include:

  • what it is
  • when and where you acquired it
  • why it's one of your favourite things

For example, for her fan, Katie wrote:

Fan (Spain, 2019)

When I was a child, I loved the musical Carmen and would always dress up in long skirts and flamenco dance my way around the house. I love this fan because it reminds me of that time.

(She used the name of her object as her label title. After the title, in brackets, she wrote when and where she acquired it. Katie printed her labels out, but you could handwrite yours.)

  • Write labels for all of your chosen objects.

Teachers' note

Task students with writing a label for their chosen object or thing, explaining what it is and why they like it.

Step 3: Create your exhibition

Consider where in your house you'd like to display your selection and their labels.

  • You could put them on a windowsill for your neighbours to see and enjoy.
  • Or perhaps arrange them on bookshelves. For instance, you may wish to put your number one favourite thing on the top shelf and the others in order, moving down the other shelves.
  • Or you may wish to display your favourite things in the middle of a shelf or table, with the others arranged around it.
  • Another option is to turn your whole home into a gallery and spread your 'Favourite Things' exhibition across different rooms, placing your objects in locations that suit them best.

Katie's windowsill exhibition is an example of a group curation
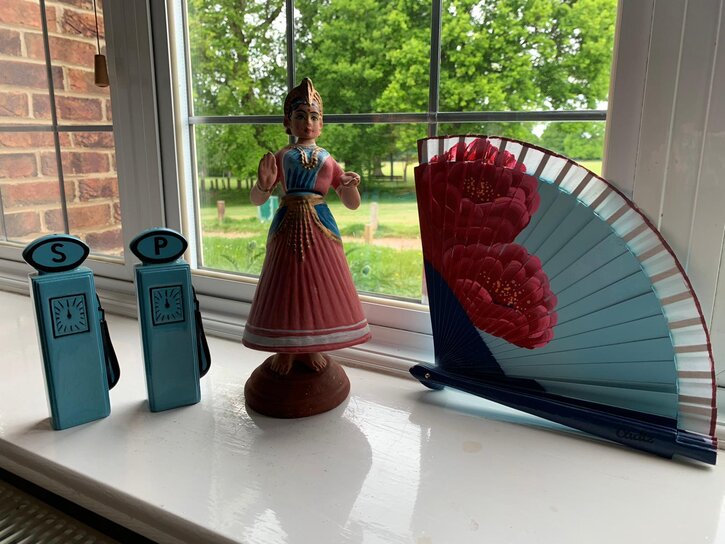
Katie's windowsill exhibition is an example of a group curation

Here are more of Katie's favourite things curated to match the space they normally inhabit!

Katie's swim team!
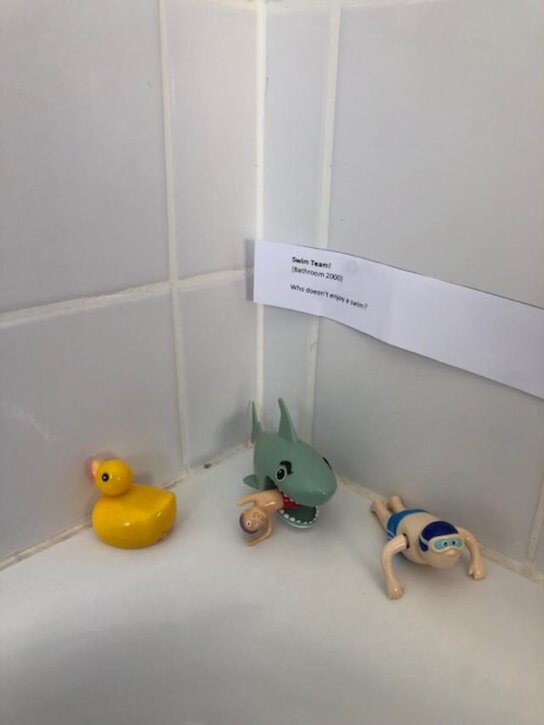
Katie's swim team!

Teachers' note

If using this activity in the classroom, display the objects on tables or place them around the room – or around the school!

If they are photographs or pictures, hang the exhibition on a classroom wall or the wall of another space in the school.
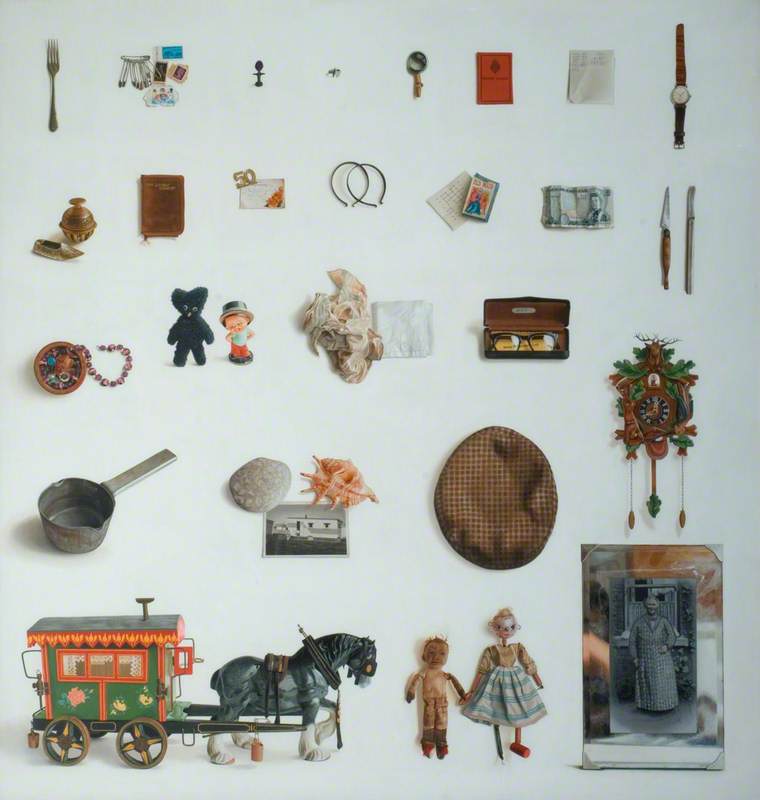
Create an online version of your exhibition

Once you've finished curating your real-life exhibition, it's time to create a virtual version online!

Search Art UK's website to find artworks that match your favourite things, and then curate an exhibition of them using our Curations tool.

Teachers' note

Younger or less able students may need help with this activity and using the Curations tool.

You will need:

  • access to a computer or tablet
  • an internet connection

Activity instructions

Step 1: Create a free Art UK account

To create your online exhibition, use our Curations tool.

  • Sign up for a free account (or ask a parent or teacher to do this for you).
  • To do this, click 'SIGN IN' in the bar at the top right of any Art UK page and then click 'Register'.

Teachers' note

You could create an account for your class exhibition using your name or the name of your school and class.

Or you could task students with working in small groups to create an online exhibition of artworks that match their favourite things and make an account for each group.

Step 2: Set up your Curation

Once you've created an account, head to 'My Curations' in the box below your name (in the top-right corner) to start a new Curation.

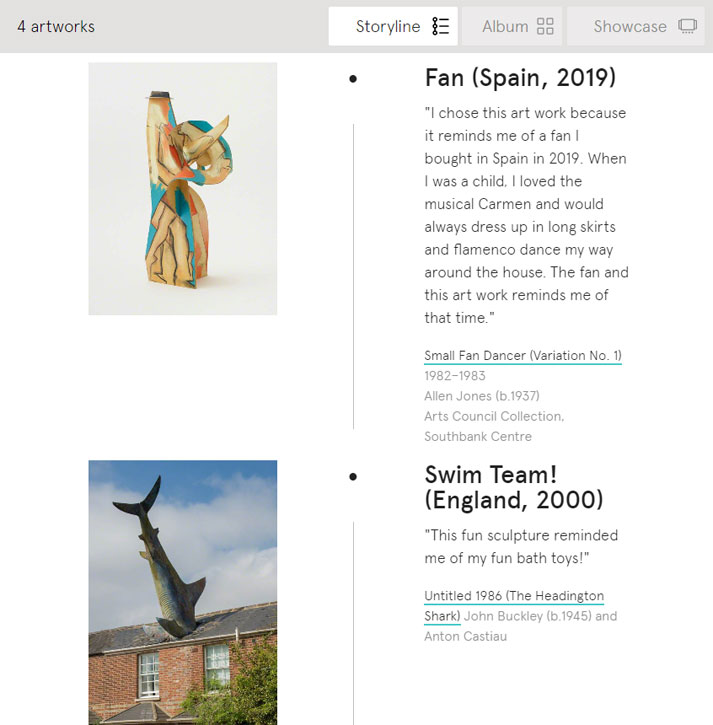
Add your exhibition title. For example, Katie called her exhibition 'Katie's favourite things'.

Step 3: Search for artworks

Now search for artworks that match your real-life favourite things.

  • Go to the artwork search page on Art UK
  • Type in a keyword. (For example, one of Katie's favourite things is a dancing doll. She typed the word 'dancer', which returned these results.)
  • Select the artwork you feel most captures your real-life favourite thing, this will take you to the artwork's page on Art UK.
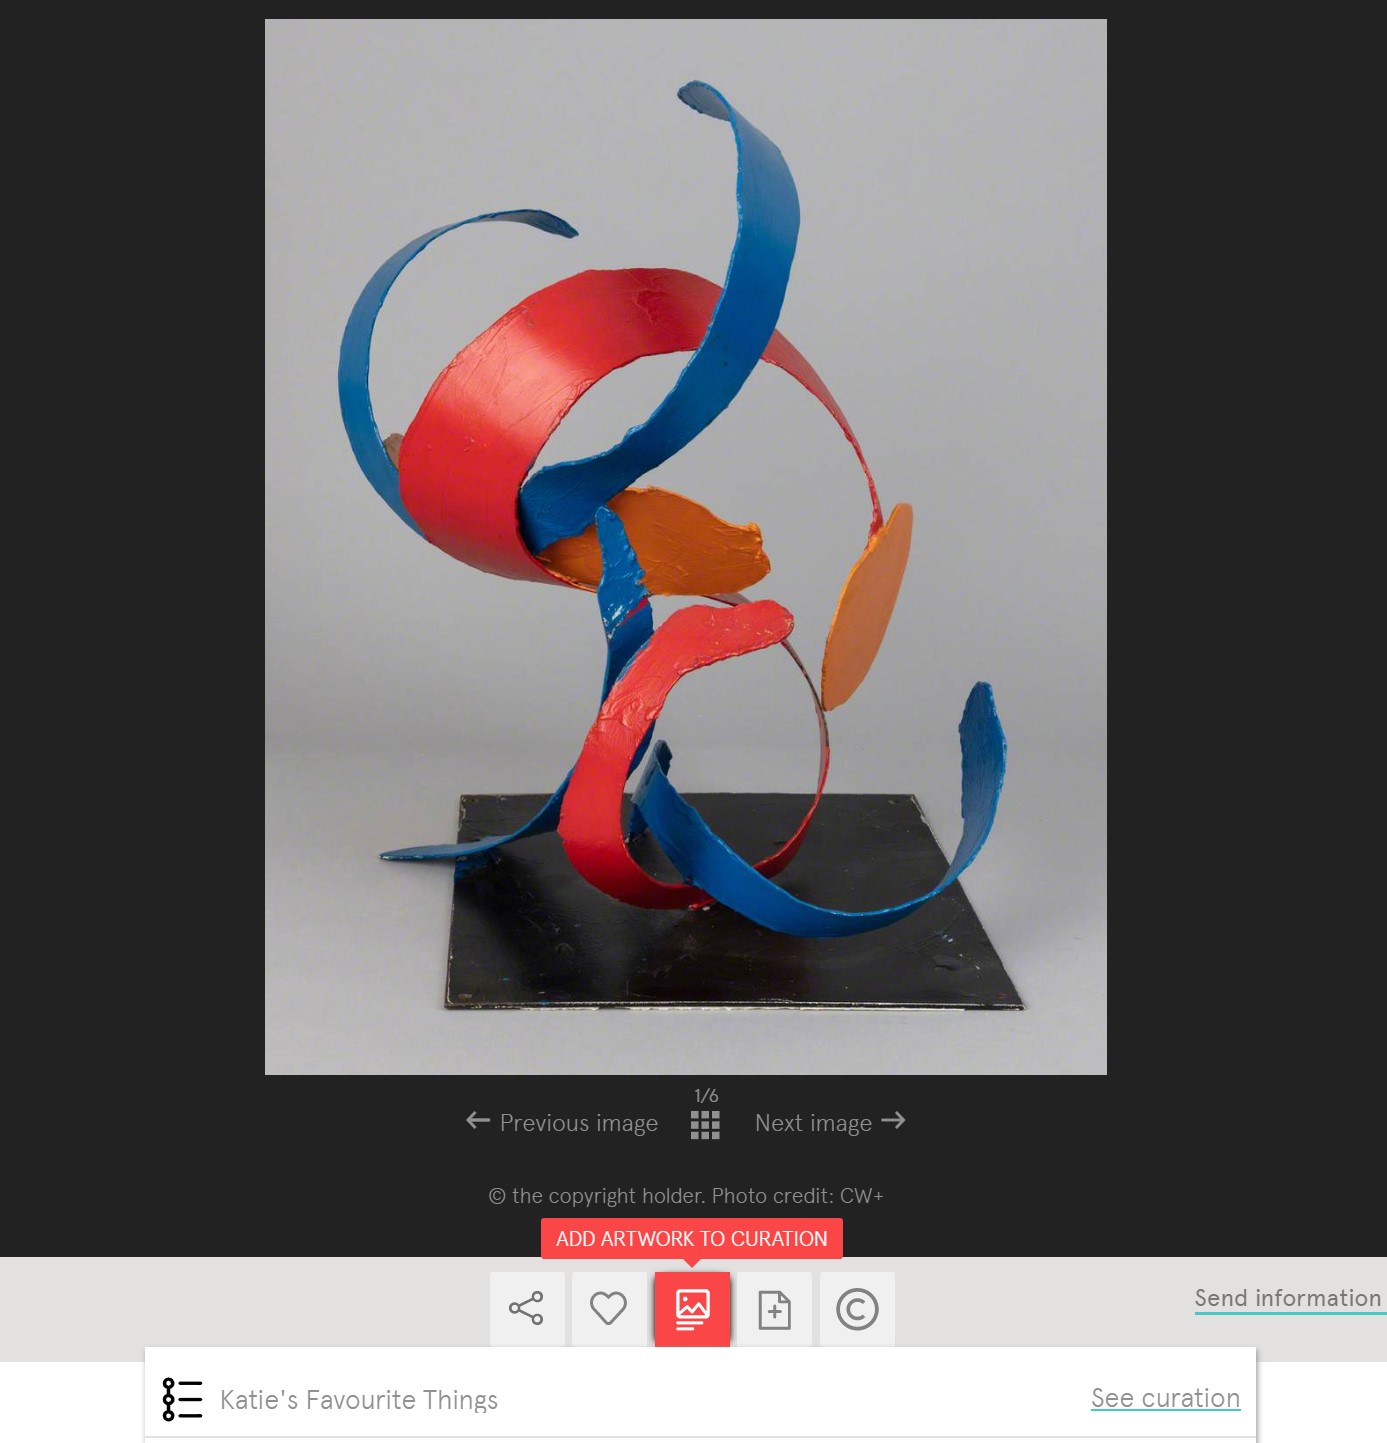
  • Once you're on the artwork's page, click CURATE (the little image folder icon below the image) and then select your 'favourite things' album. This will save it in your own album.

Click the CURATE button when you are signed in to add to your Curation

Click the CURATE button when you are signed in to add to your Curation

Repeat this for all of your favourite things – typing each object or thing into the search box and choosing an artwork to represent each object.   

Teacher's note: If you are creating a whole class exhibition, ask students to take turns to search for and choose an artwork to match their favourite thing. If students are working in small groups, they could search for and select artworks together, based on their favourite things.

Step 4: Create and format your exhibition

Head back to 'My Curations' and open your 'favourite things' Curation.

Here you'll see all your selected artworks together.

You can decide how you want them to appear on the website by selecting Album, Storyline or Showcase from the tabs on the right. 

Curation formatting buttons

Curation formatting buttons

(An Album will present your images in a grid format but the other two options allow you to add texts to your images and will present them in a column. Select the different format options to preview how your Curation will appear before deciding.)

Step 5: Add exhibition texts and labels

Use the Edit button to add an introduction to your exhibition.

You can also use this button to add text next to each artwork (in Storyline or Showcase format). Use this for your online label.

You could explain what the artwork is, why you have chosen it and how it relates to your favourite thing.

The start of the Curation 'Katie's favourite things'

The start of the Curation 'Katie's favourite things'

Teachers' note: Task each student with writing a label for the artwork, explaining how it relates to their object.

If creating a whole class or several group exhibitions, you could ask students to write their labels by hand and then you could type these into the Curation tool.

Top tip: save your Curation regularly while you are working on it!


Do you know someone who would love this resource?
Tell them about it...

More Art UK resources

See all