Discuss: what is portraiture?

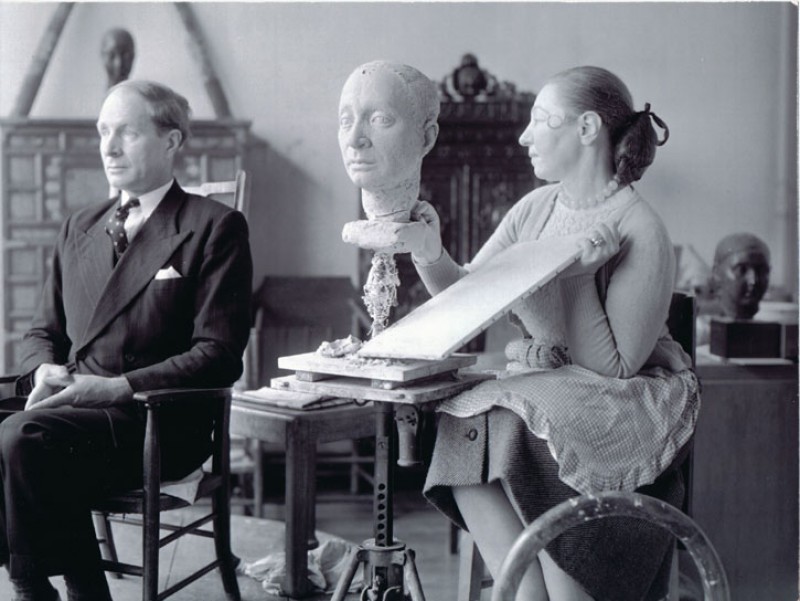
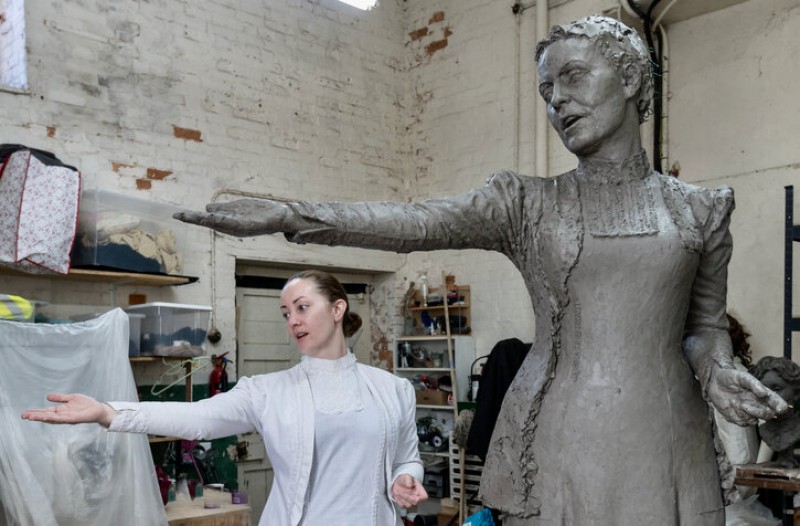
Portraiture is one of the oldest forms of art, capturing the likeness of a person in order to commemorate them across time. Before the advent of photography, portraits were primarily created through painting, drawing or sculpture.

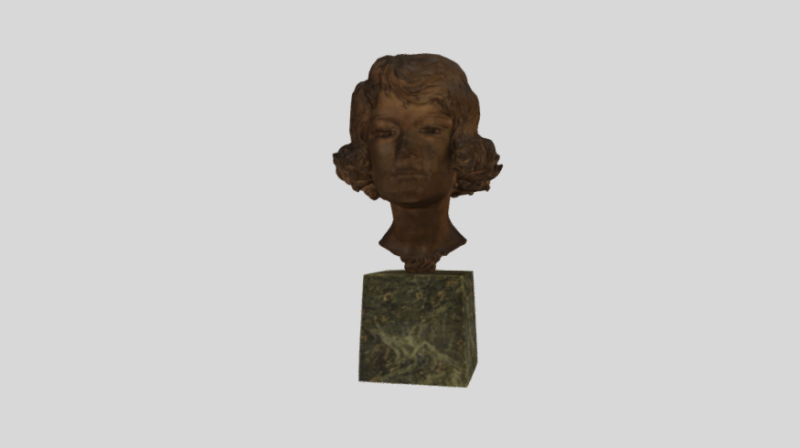
Often the subject of the portrait is someone who has achieved something remarkable in their own lifetime, such as Jamaican-born Harold Moody, who campaigned against racial prejudice in Britain in the 1930s. Below is a 3D scan of a sculpture held by the National Portrait Gallery, which is based on an earlier 1946 portrait of Moody sculpted by his brother Ronald.


Explore the 3D scan with your class and discuss the following questions:
  • why might an artist have felt compelled to create a portrait of Harold Moody?
  • what can they deduce about Moody from the portrait?
  • what materials and processes might the original artist have used to create this portrait?
  • does the fact it was sculpted by his brother change their perception of the work?


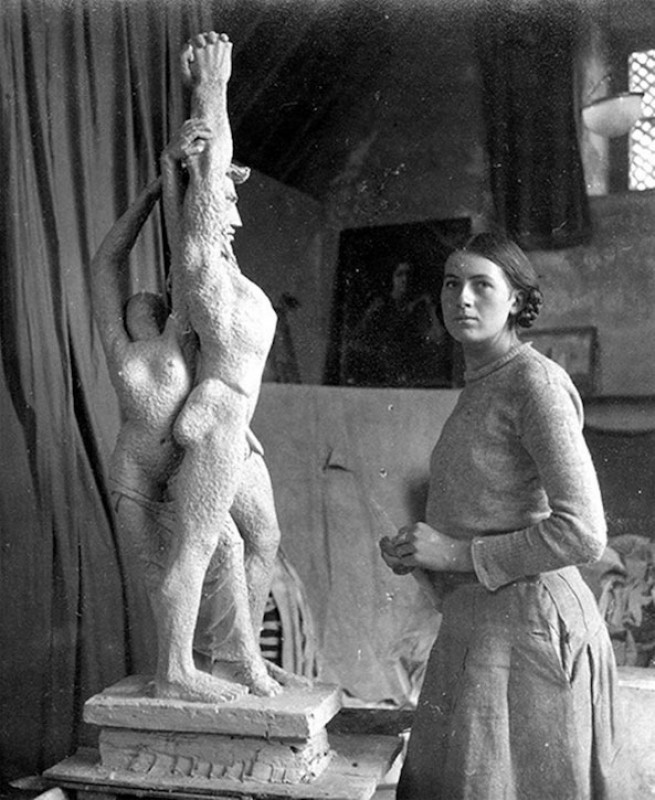
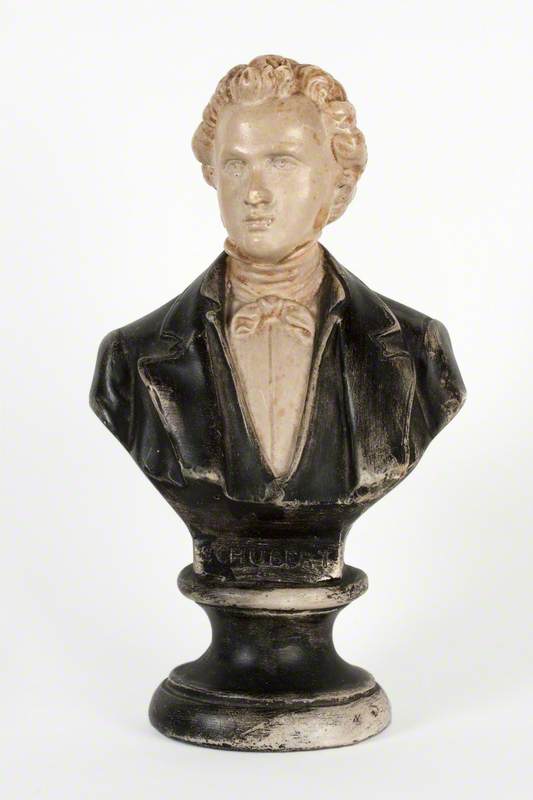
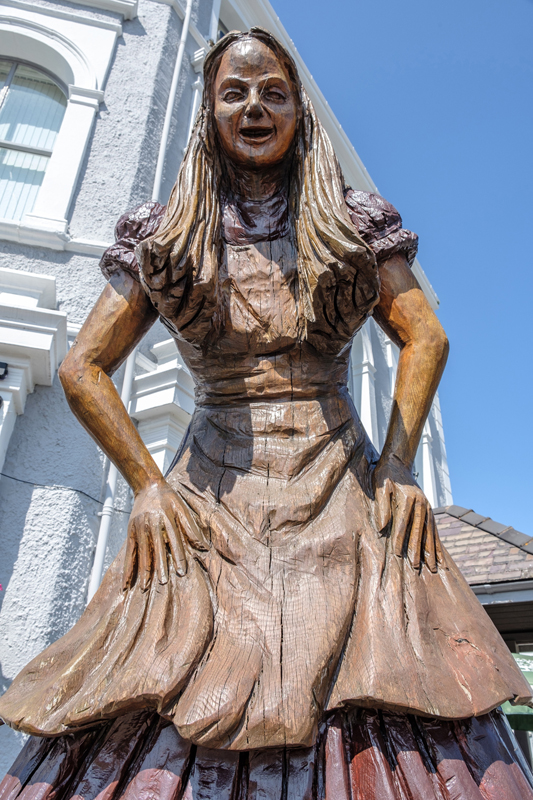
Individual task: explore examples of portraiture

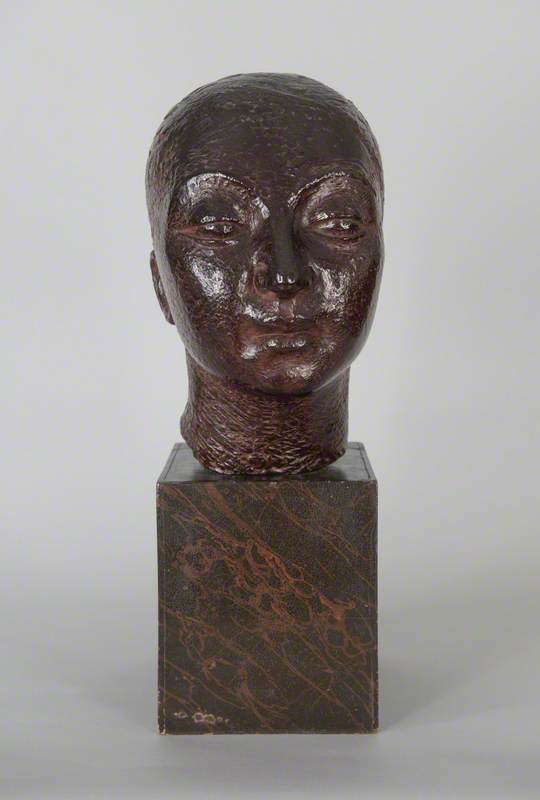
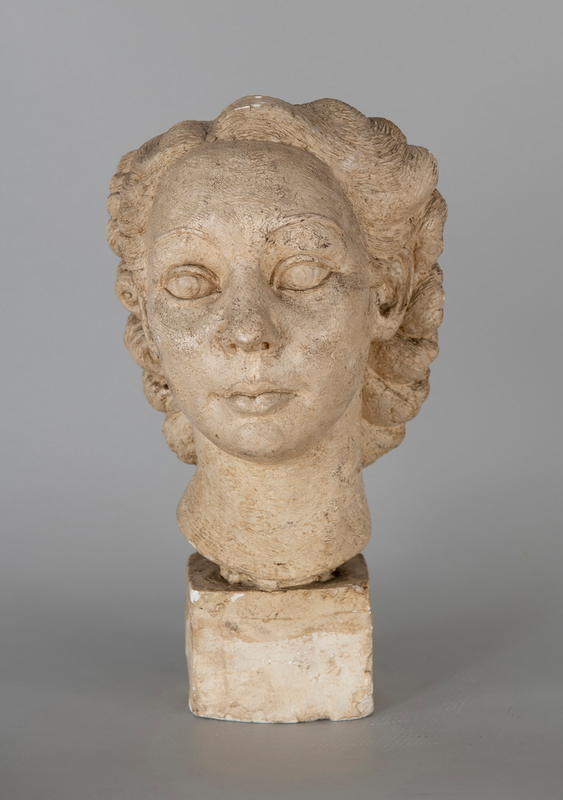
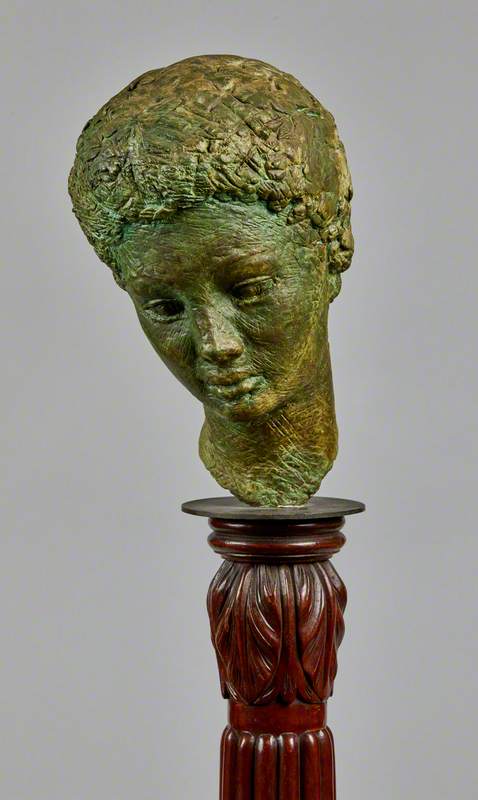
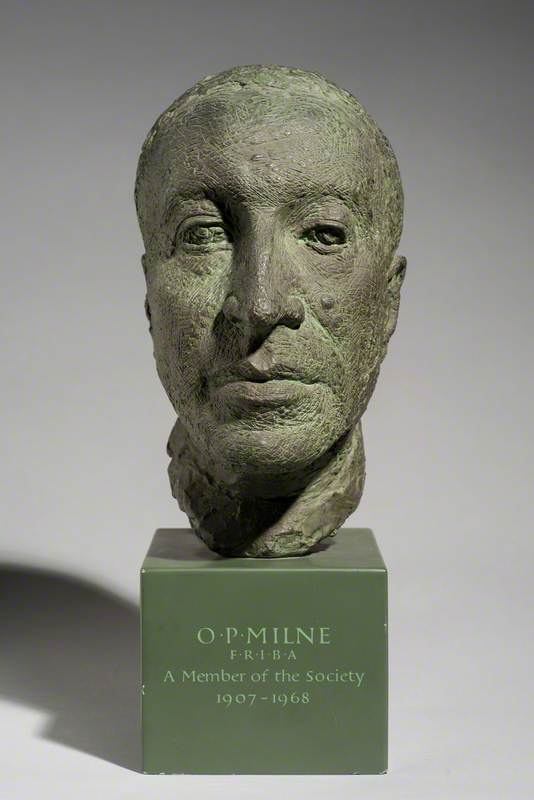
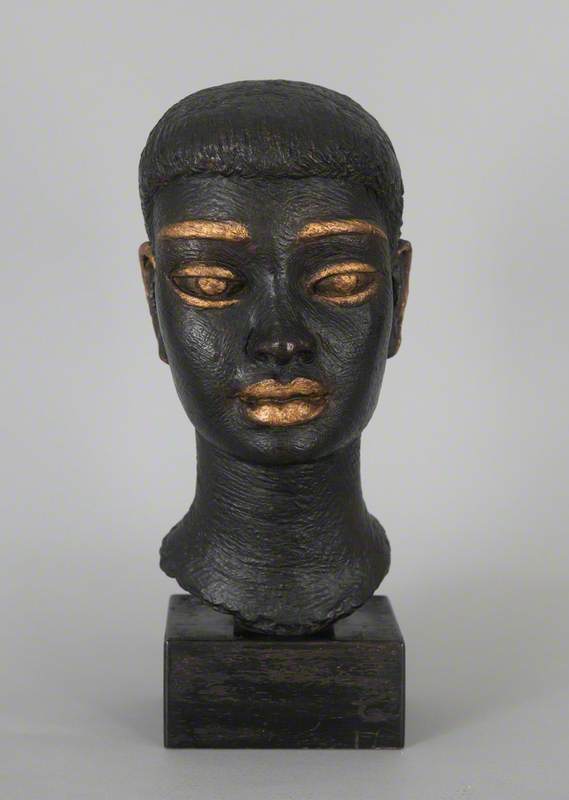
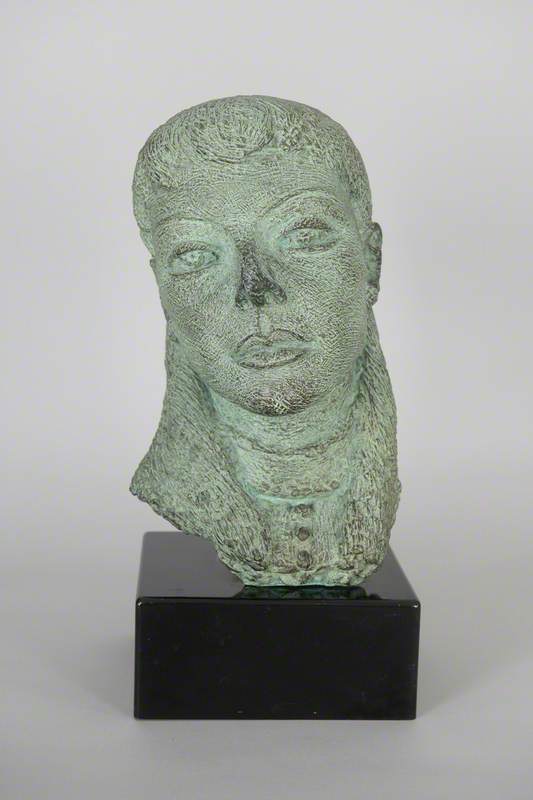
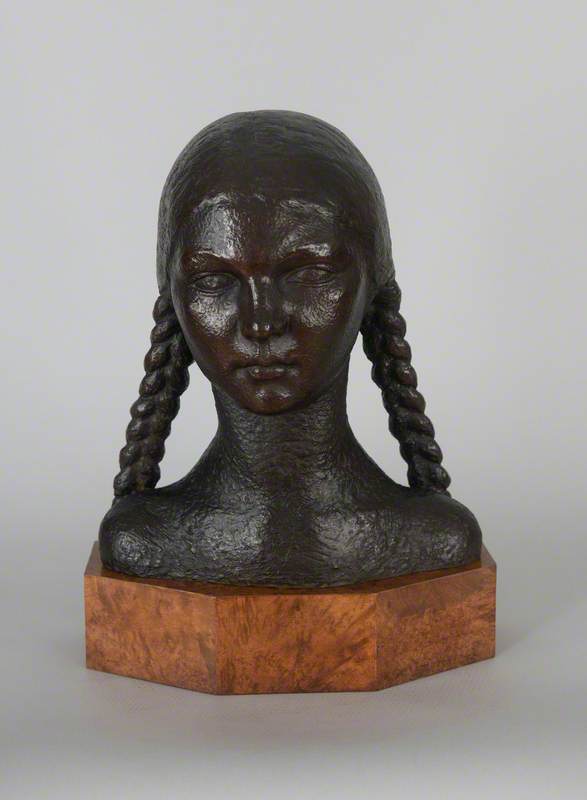
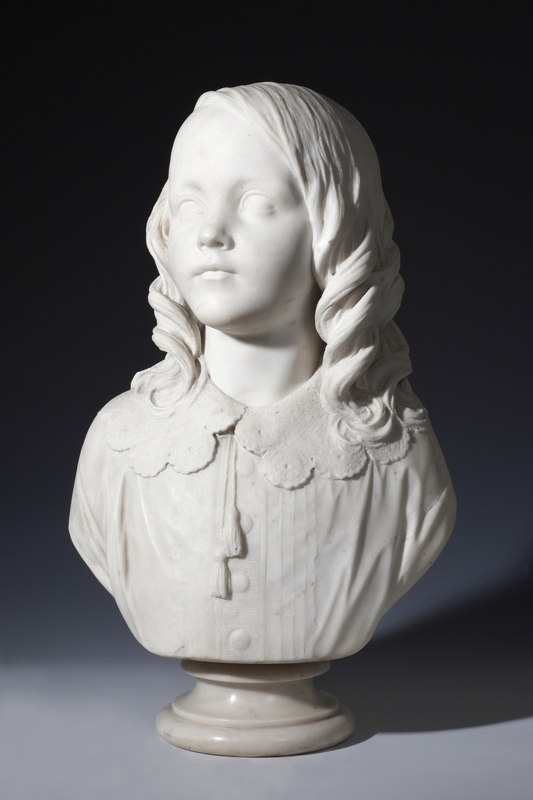
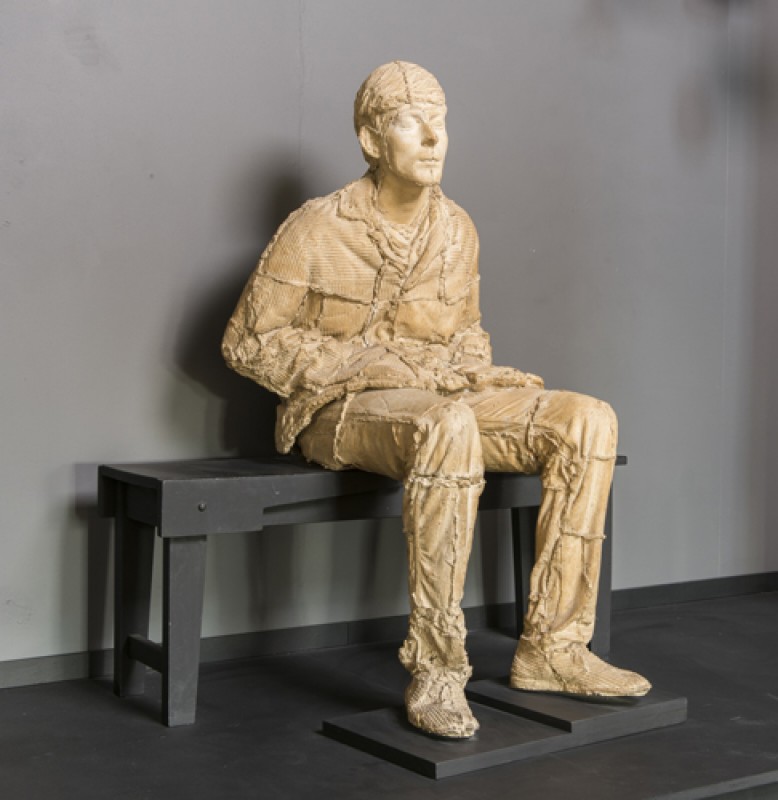
Task your students with looking through examples of sculpted portraiture on the Art UK website, specifically busts. Here are some examples to get them started.

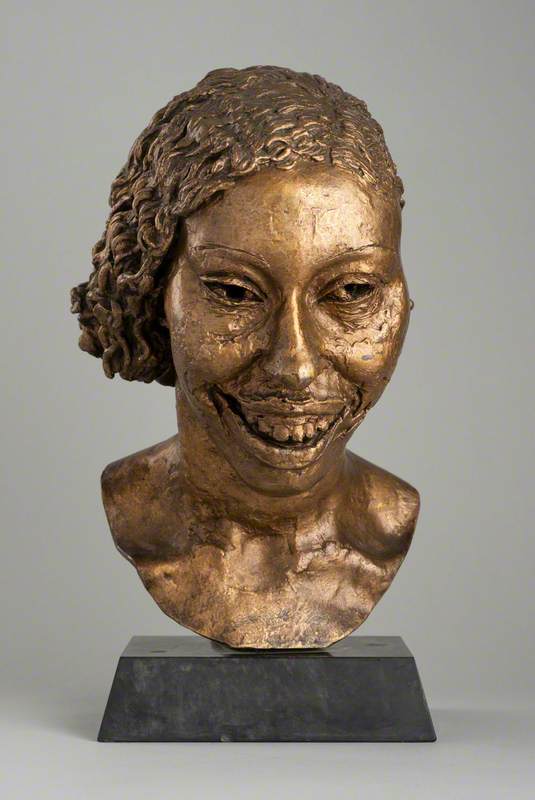
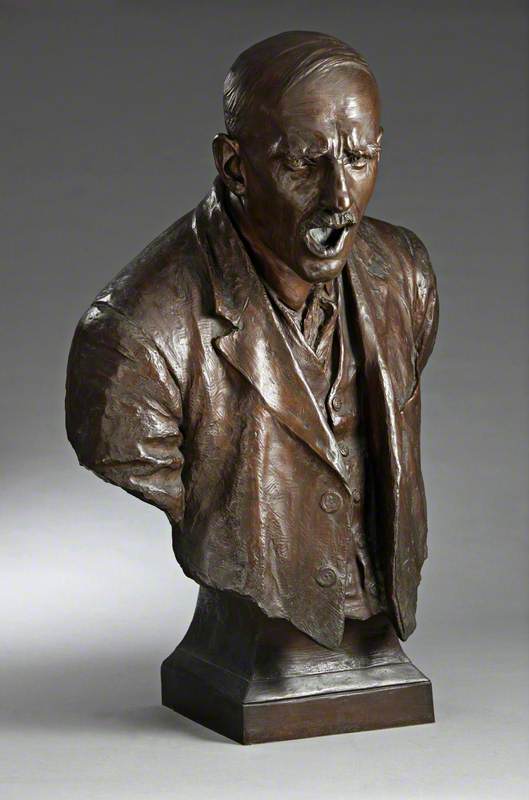
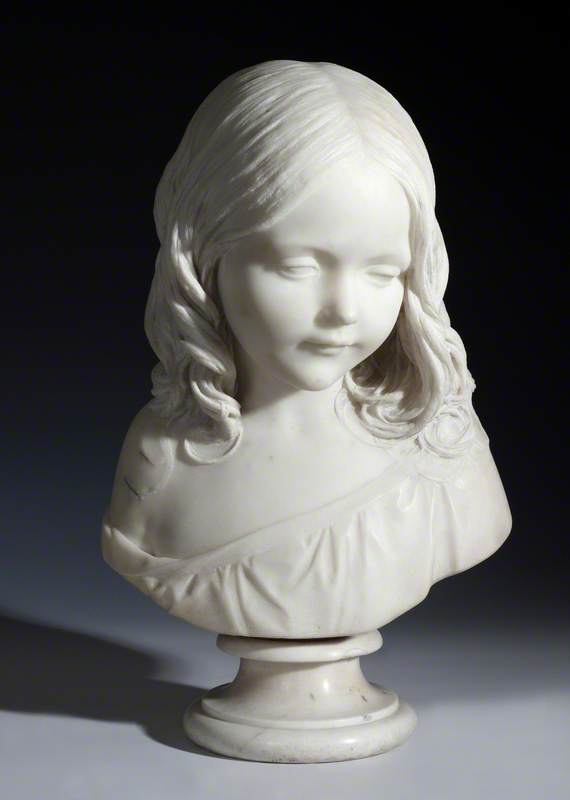
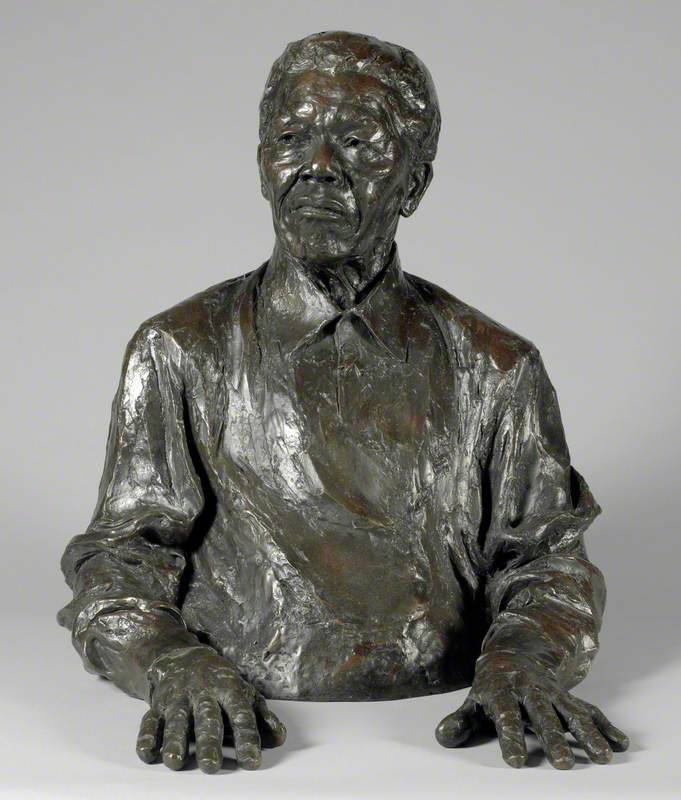
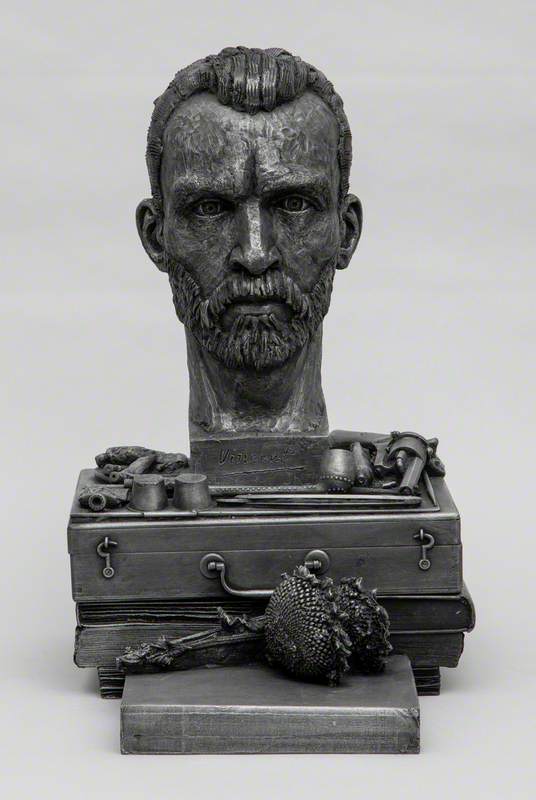
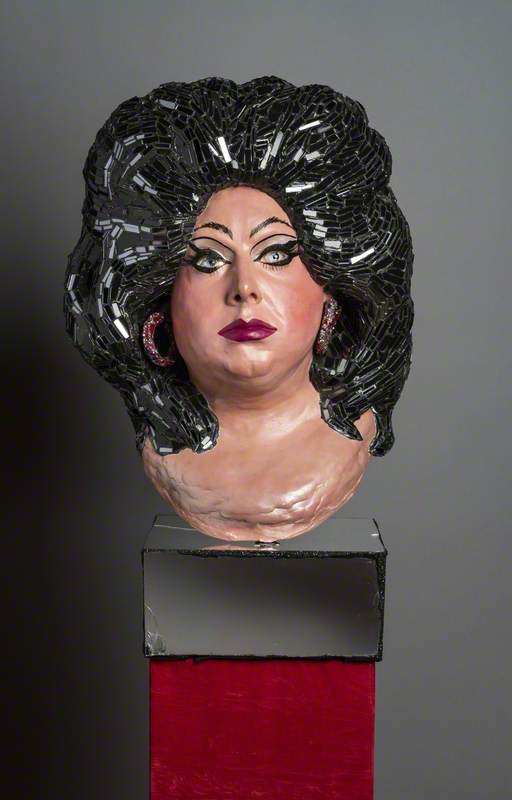
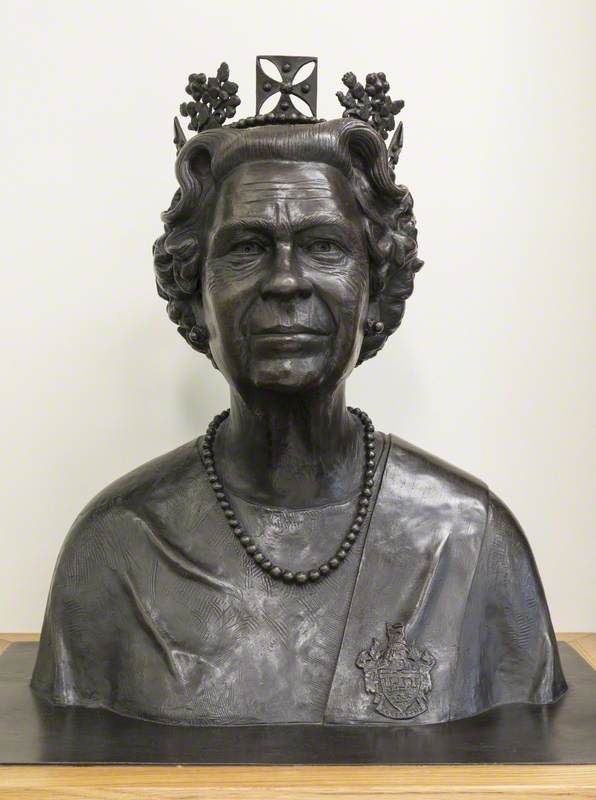
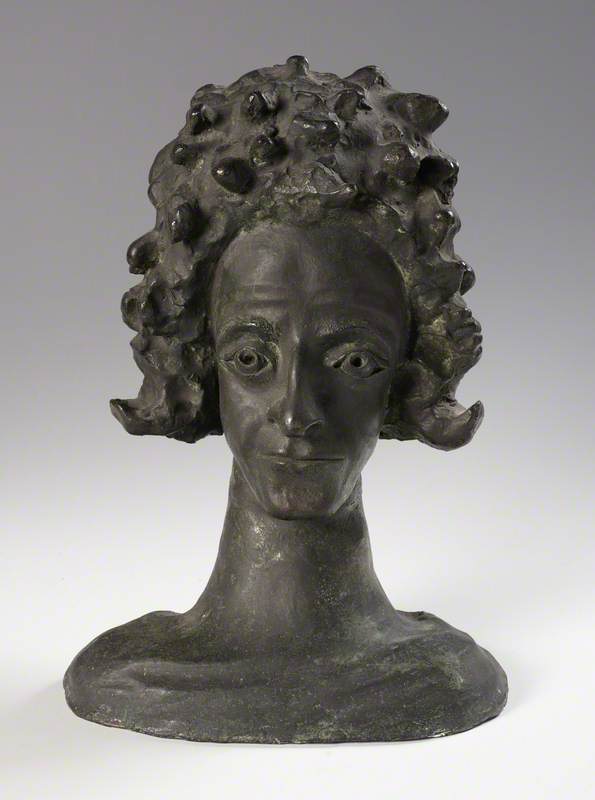
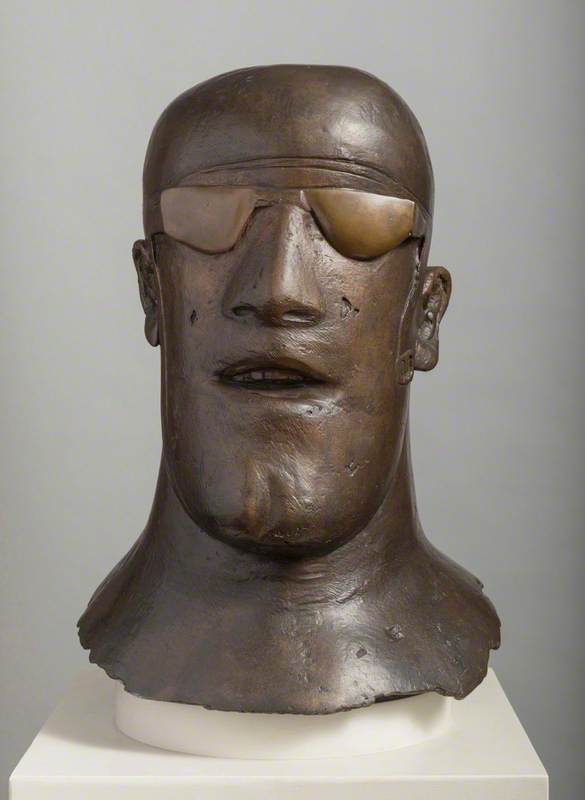
Ask them to choose their favourite portrait and note down the following:

  • why did they choose this portrait?
  • can they tell anything about the person through their facial expression?
  • are there any other significant details in the artwork which tells them something about the subject?
  • was their selection of a well-known figure? Or someone lesser-known and/or anonymous?

Discuss some of their choices as a class by displaying examples on a whiteboard. Follow up these examples with a wider class discussion of this question:

Who should artists represent in their work, and why?

Dora Gordine

During her lifetime, Dora Gordine (1895–1991) was a famous sculptor who made many portraits of famous and lesser-known people in her studio at Dorich House in London. Gordine was born in modern-day Latvia (formerly part of the Russian Empire), before moving with her family to Tallinn in Estonia. It was here her sculptural career began, with further progression at the Ècole des Beaux-Arts in Paris and various travels around Asia.

She finally settled in London with her second husband, Ricard Hare, where she designed Dorich House on the edge of Richmond Park, combining both her and Richard's first names to create 'Dorich'. At the house, Gordine modelled heads of famous people, friends and locals at her purpose-built studio. Her sculpture was made by modelling clay on a wire armature and was later cast into bronze or plaster.

Watch and discuss: Dora Gordine at Dorich House

In this video, a group of students from Cranford Community College visit Dorich House on the edge of Richmond Park in London to find out more about Gordine who both lived and worked there. One of only a few sculptors' studios open to the public in the UK, the students find out a lot about sculpture and the lives of artists. Watch the film and then discuss the following questions with your students:

  • how did Dora Gordine create her sculptures?
  • who did she represent in her work?
  • does the level of the sitter’s fame affect the nature of the sculpture and how we view it?
  • do the titles of the sculptures affect how we view them?
  • is a studio essential for an artist? Who do they think funds a studio space?
  • Gordine was one of few practising female artists during her lifetime. Who is the most famous female artist you can think of? How many female artists can you name?


Activity: modelling in clay on a wire armature

Ask your students to choose someone they would like to model in clay. They may wish to model another student, or they can research images of a person to use as a guide in preparation for the making task. If they are in need of some inspiration, encourage them to search through Art UK for paintings or photographs of people. 

Materials

Each student will need:

  • a wooden base
  • bendable wire and chicken wire (or aluminium foil) for the armature
  • clay (preferably air-drying and around 2 kg per pupil) and a clay-cutting wire
  • some basic wooden clay tools. Alternatively, you can use plastic modelling tools or even cutlery

Make an armature

Dora Gordine activity materials

Materials

You may wish to create the armatures for your students to save time in class. While ready-made armatures for heads are available to buy, they tend to be expensive. To make your own, you will need a wooden or chipboard base with four holes drilled into it, as in the picture above. Fix two pieces of bendable sturdy wire into the base by placing each end diagonally across from the other. Fix the two wires together using a small piece of wire, then wrap the whole structure in chicken wire (or aluminium foil) to fill in the gaps between the bendable wire in order to create a head-shaped armature. Be careful during this part, as the cut ends of the chicken wire can be sharp.


Further instructions

Once the armature is complete, students can cut lumps of clay using a clay cutter and begin covering the armature with it. Make sure the clay is soft and easy to work with – it is best kept at room temperature and can be warmed by rolling in it the palms of your hands.

Encourage students to add clay where it is needed to form a head shape and bulk out features. Hands are the best tool for smoothing out the clay during this process.

Once your students have a basic head shape, they can begin to form the features by using their reference images or an in-class model as a guide. This will require modelling tools such as a basic pottery clay toolset or anything else suitable for safe modelling.

Remind your pupils that, when working with clay, it is easy to correct something they are not happy with as long as the clay is still wet so encourage them to take risks and try out different options until they are happy with the proportions and definition of the features.

Top tips:

  • Cover your sculpture with a bag when taking a break and/or lightly spray with a water bottle if using air-drying clay (but not too much!)
  • Using a potter's banding wheel (a rotating stand) will make it easier to work around the head

You may wish to hold a mini-exhibition in the classroom, with students presenting their work and explaining who they chose to represent in clay and why.


Do you know someone who would love this resource?
Tell them about it...

More Art UK resources

See all