This activity shows you how to design and make a plaster mould for a tile with a relief design. It could also be adapted to make medallions or relief panel sculptures.
The technique of making a mould in plaster and filling it with clay is one of the simplest ways of reproducing a design.
For tiles, which are generally produced in multiples, casting them using a mould is a time-effective way to produce lots of identical tiles.
This activity has been designed for KS 3 / CfE Level 3 & 4 students but could be adapted for older students or younger age groups (with supervision). It is also a fun activity for lifelong learners or families to try at home.
Health and safety when using plaster
Plaster can be messy with potential health and safety issues so if working with younger students teachers should mix and pour the plaster. Older students should be supervised at all times.
Plaster dust can get into the eyes or nose so ensure that it is handled carefully and never mix or allow students to mix plaster with their hands.
Materials
You will need:
clay*
plaster of Paris
thick card or a thin wooden board as a base (a clipboard is ideal)
a mixing bowl or jug
a stick or old spoon to stir the plaster
a rolling pin and clay tools
water
a pencil and paper to plan your design
*You could use air-drying clay if you don't have access to a kiln, or alternatively plasticine or papier-mâché could be used.
Method
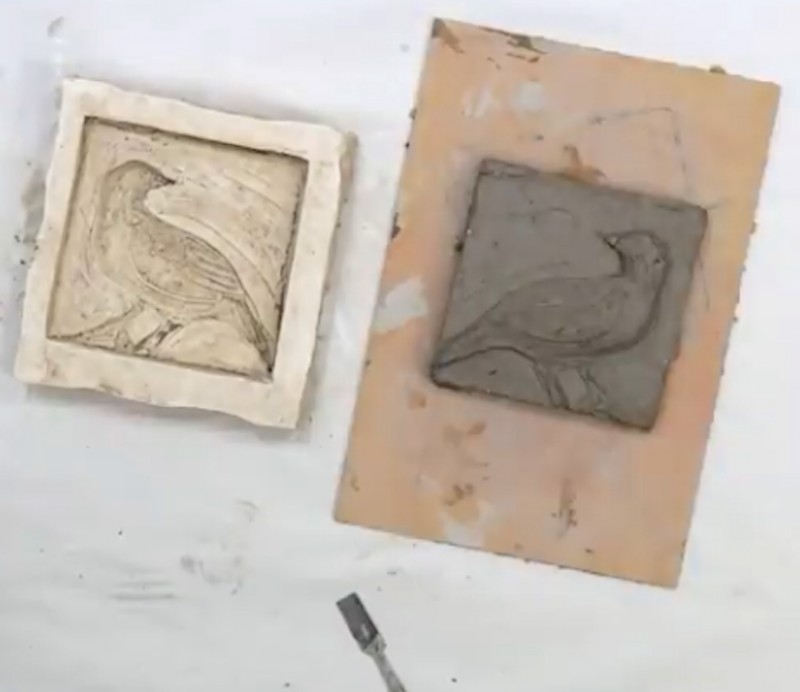
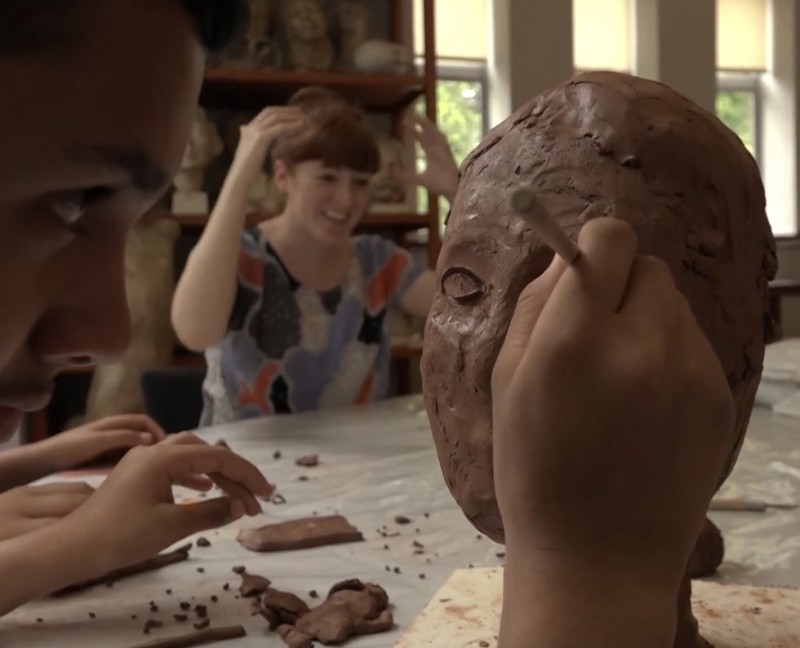
This timelapse video shows you how to make a tile design in clay and use this to cast a plaster mould from which to make multiple tiles from clay.
Watch the video and then follow the step-by-step instructions below.
Instructions
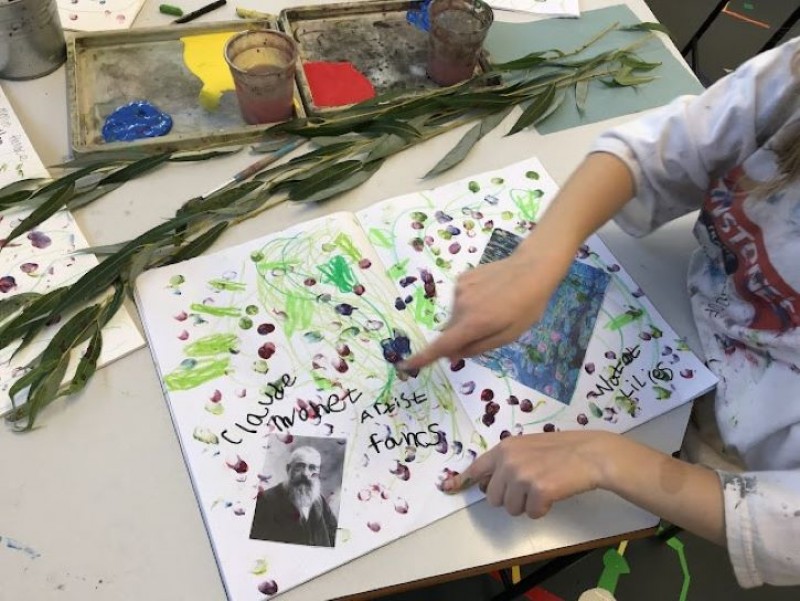
Step 1. Plan your tile design
Your tile design should be simple as it will need to be reproduced in clay.
Teachers could suggest a theme for students' designs such as a subject from nature (leaves, birds, animals), buildings in your local town, a self-portrait – or their favourite food!
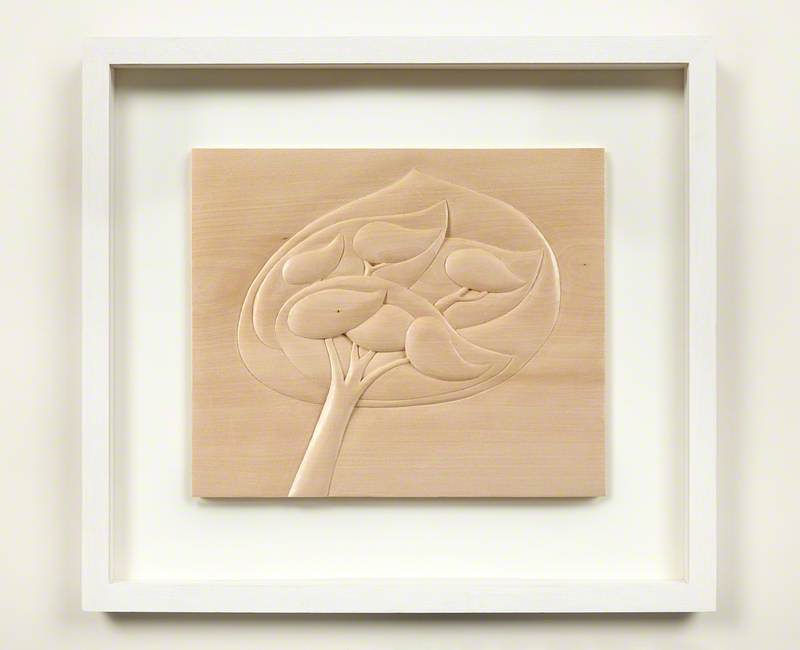
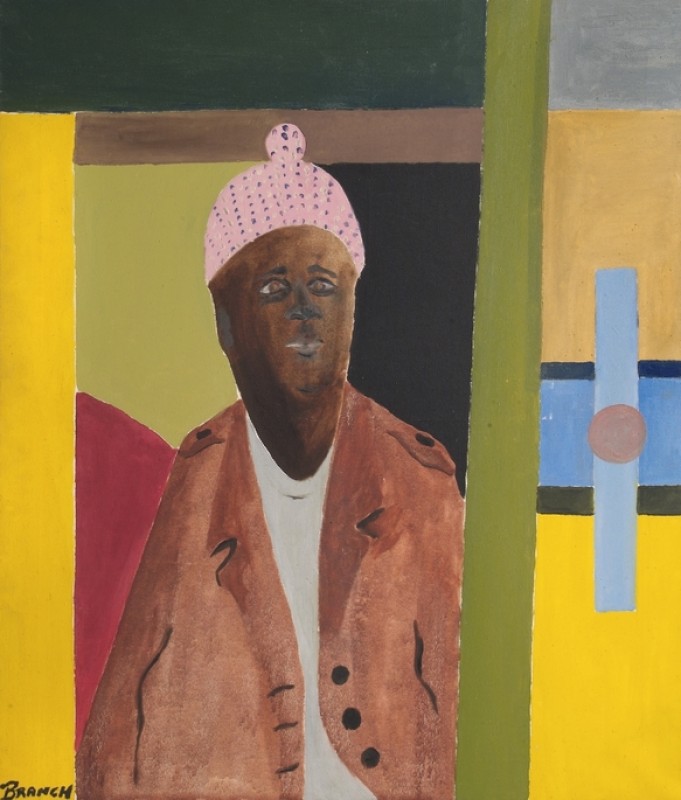
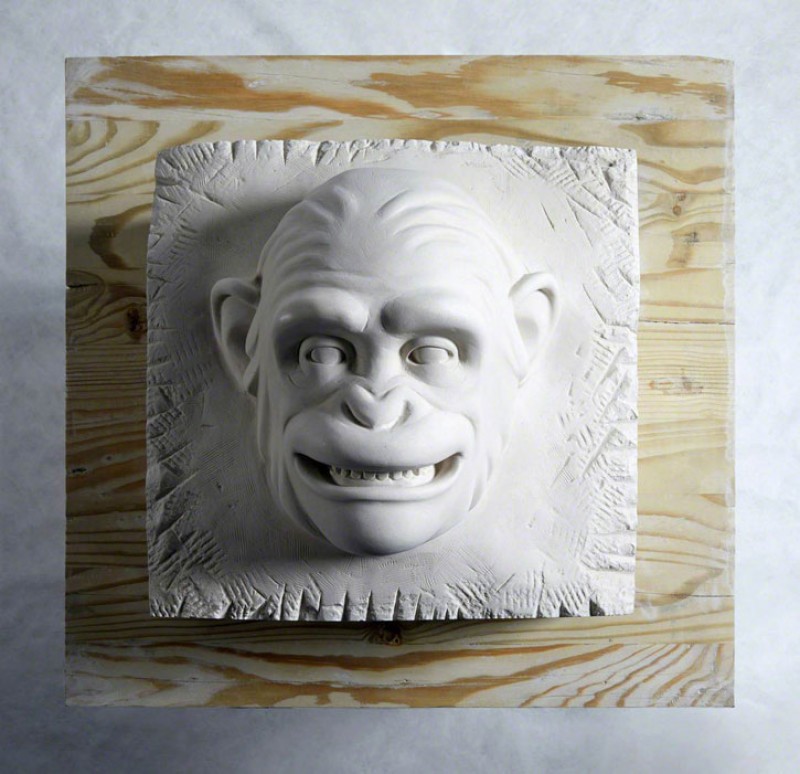
Explore tiles, medallions and relief panels on Art UK for design ideas.
Missing Leaves 2013
Marion Smith (b.1969)
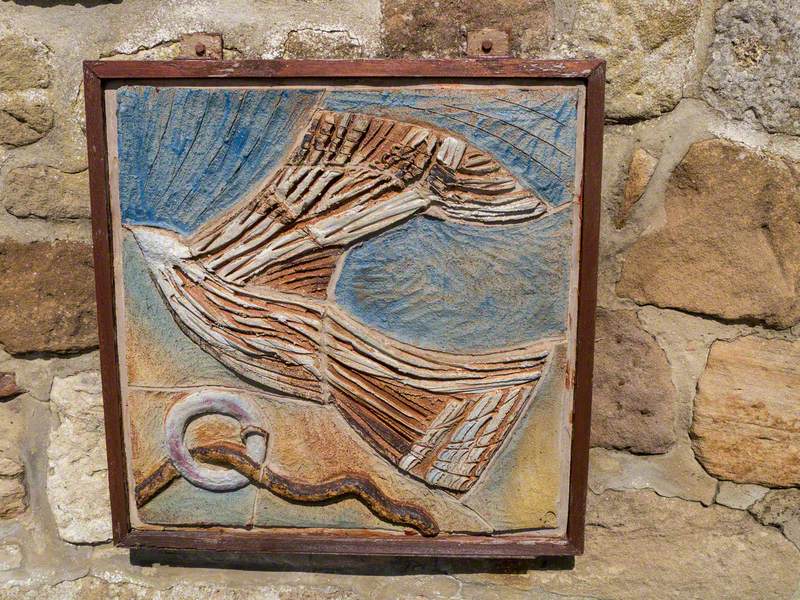
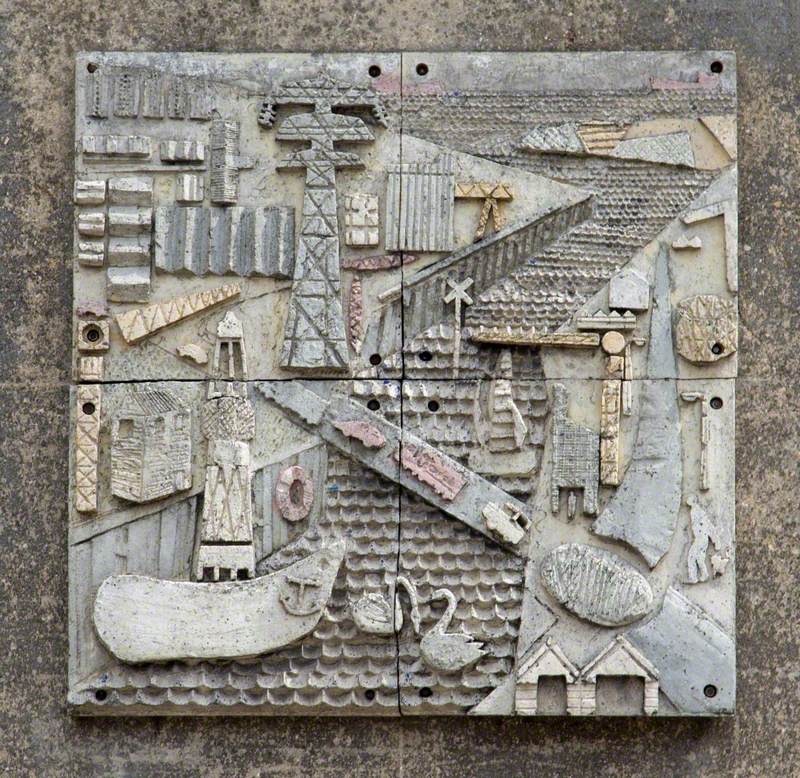
Two Plaques 1994–1995
Geoff Tiney (active 1984–1995)
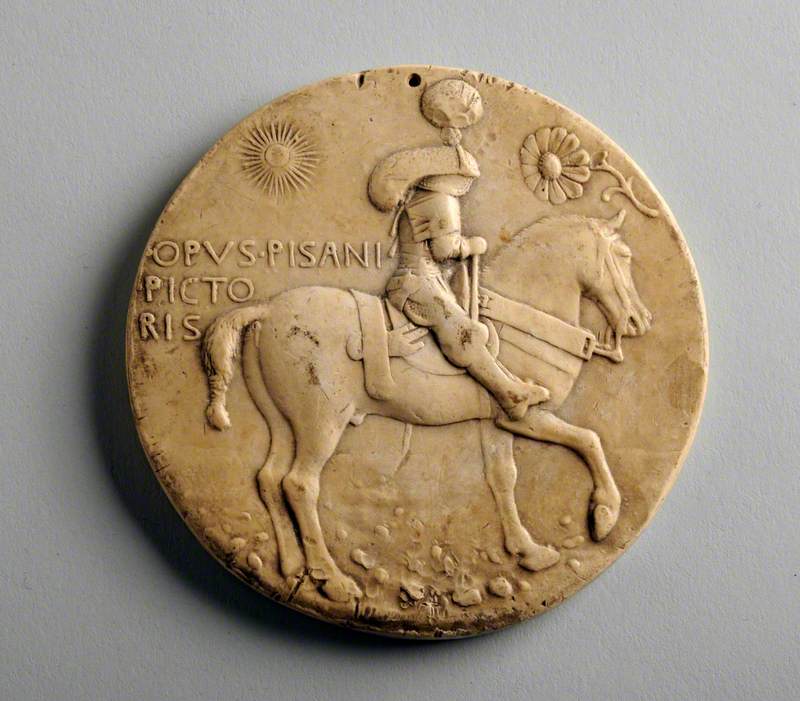
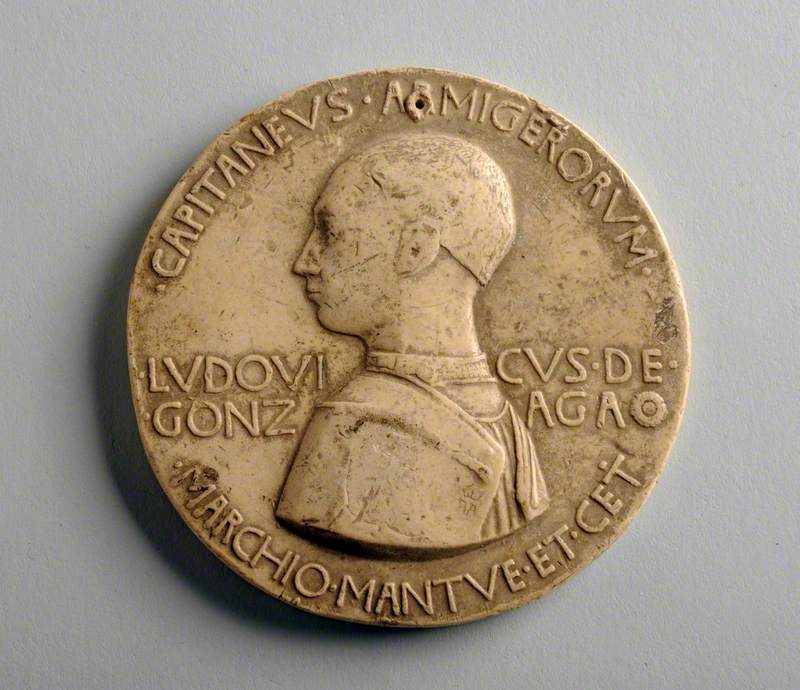
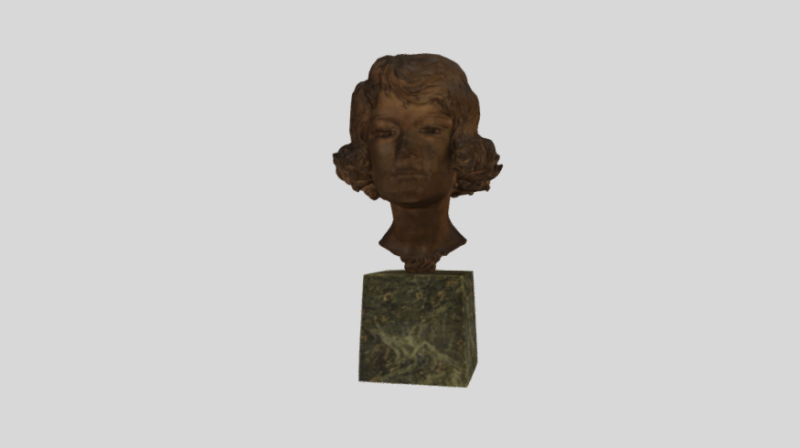
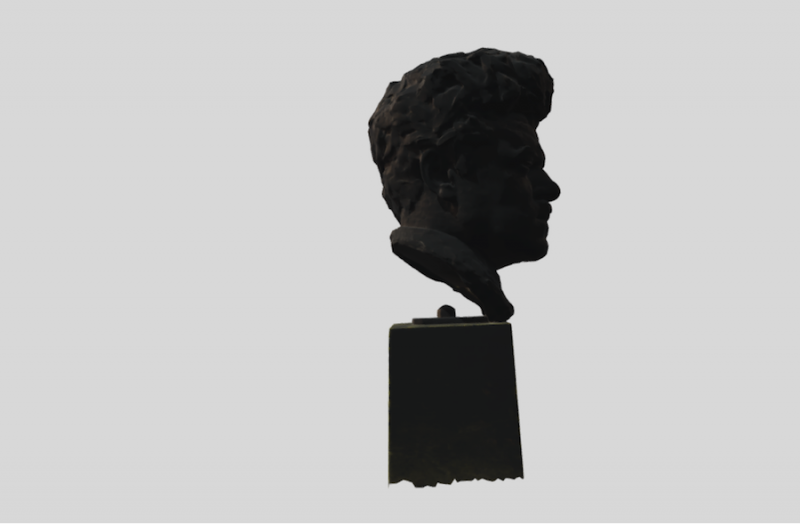
Medallion
George James Frampton (1860–1928)
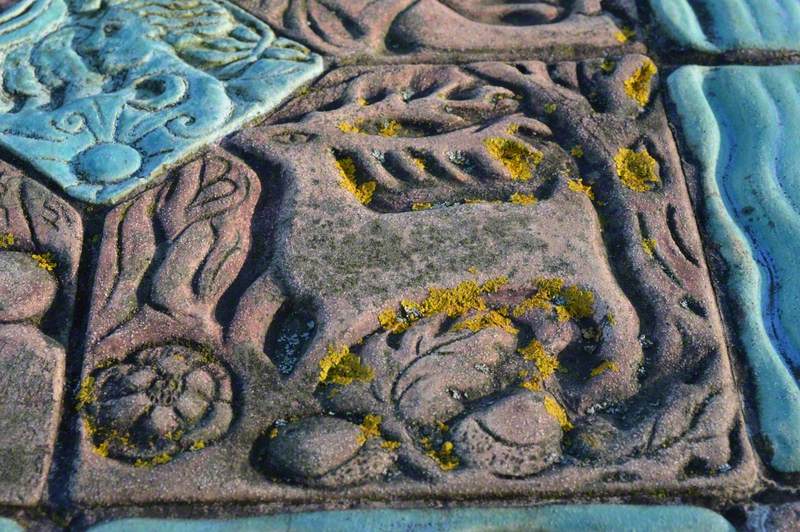
Timeline (detail)
Ceramic Relief Panels and Vessels
KEAP Creative
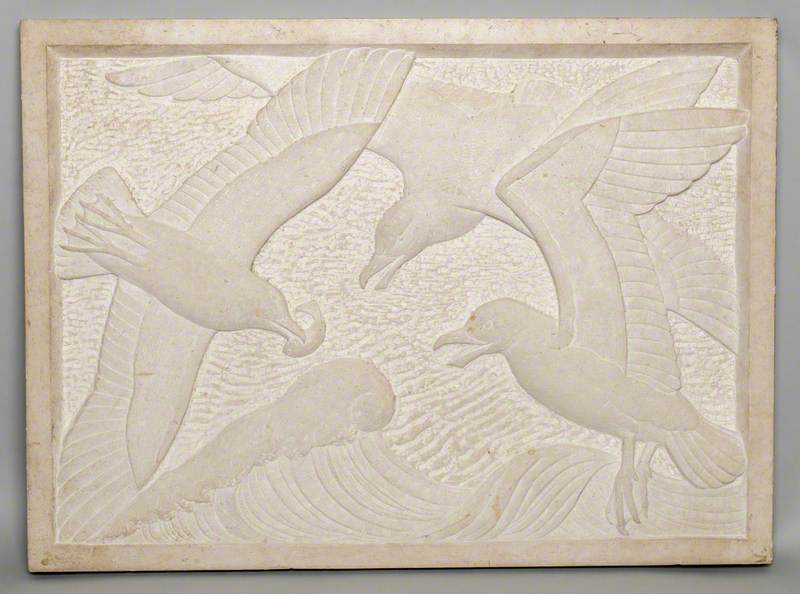
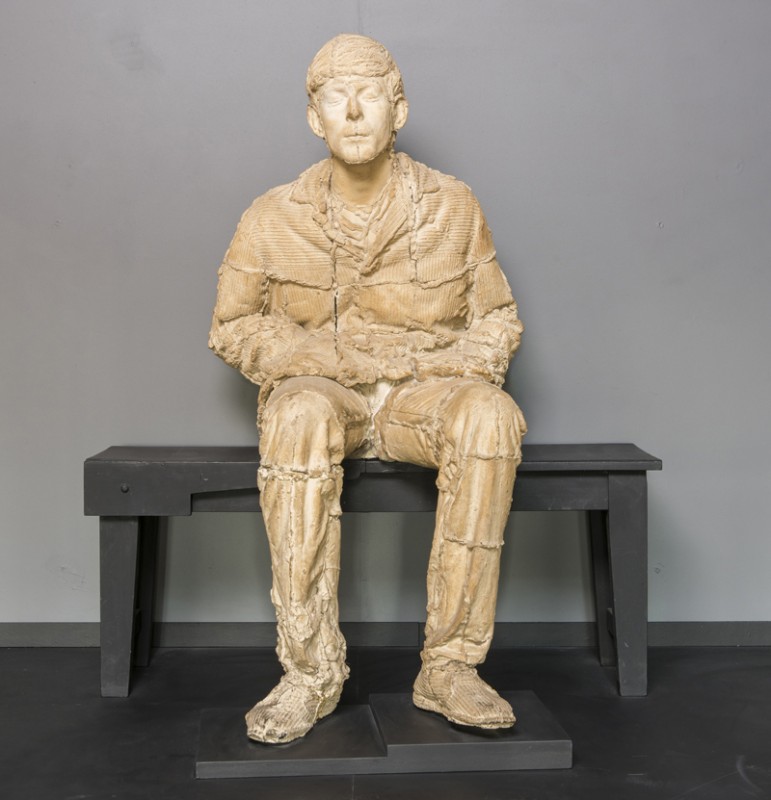
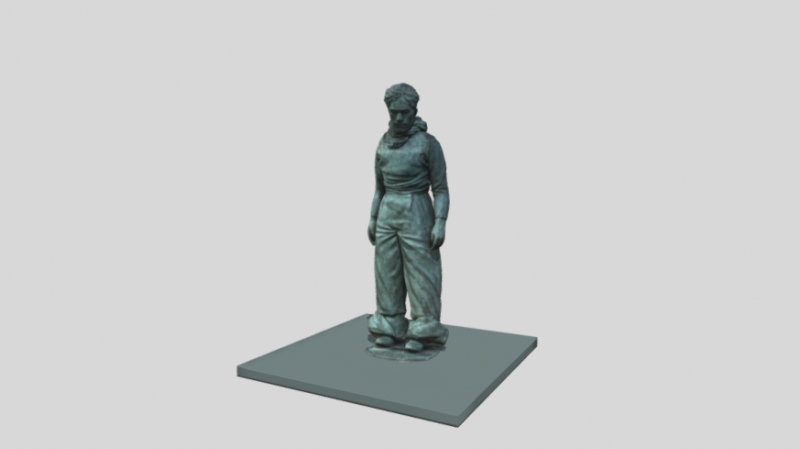
Scavengers of the Sea 1973
Rosamund Fletcher (1908–1993)
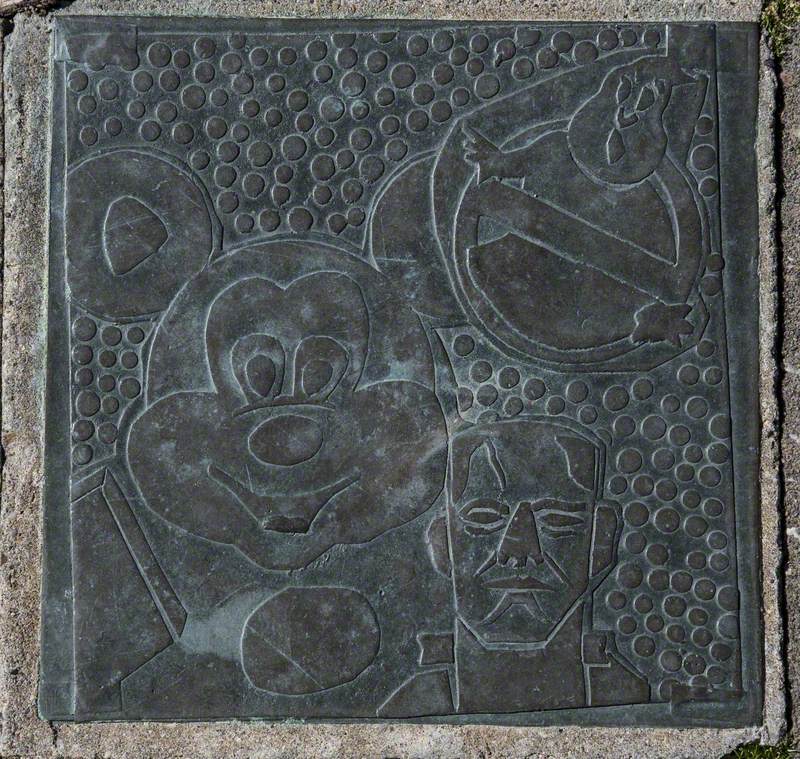
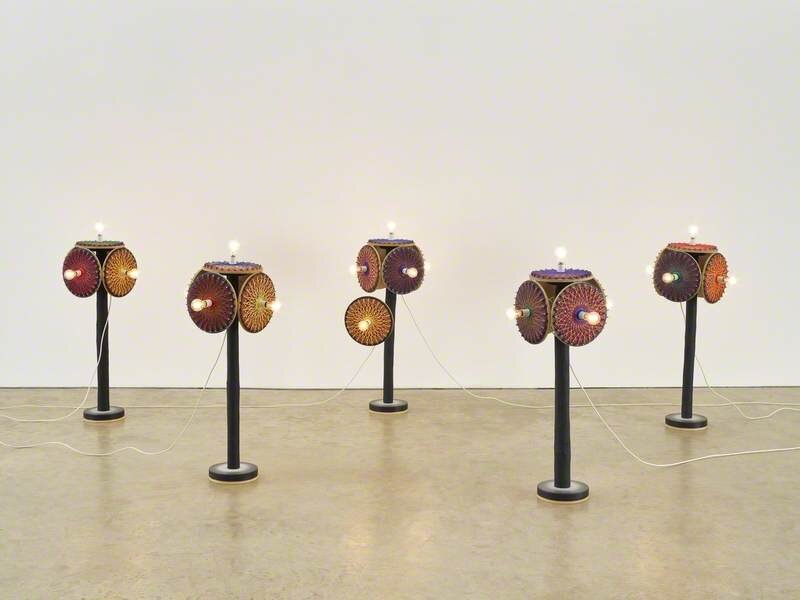
Movie Scenes 1997
Campbell Design & Engineering Ltd
Medallion
George James Frampton (1860–1928)
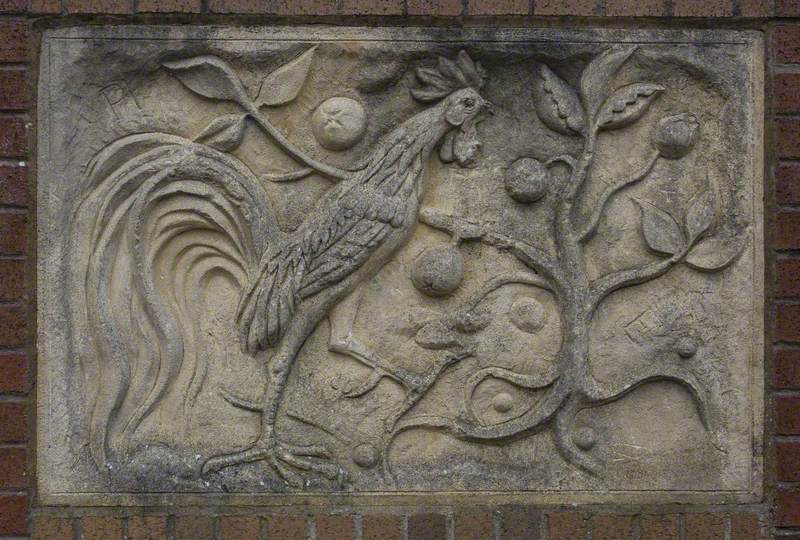
Concrete Relief 2005
Nicola Burrell (b.1966)
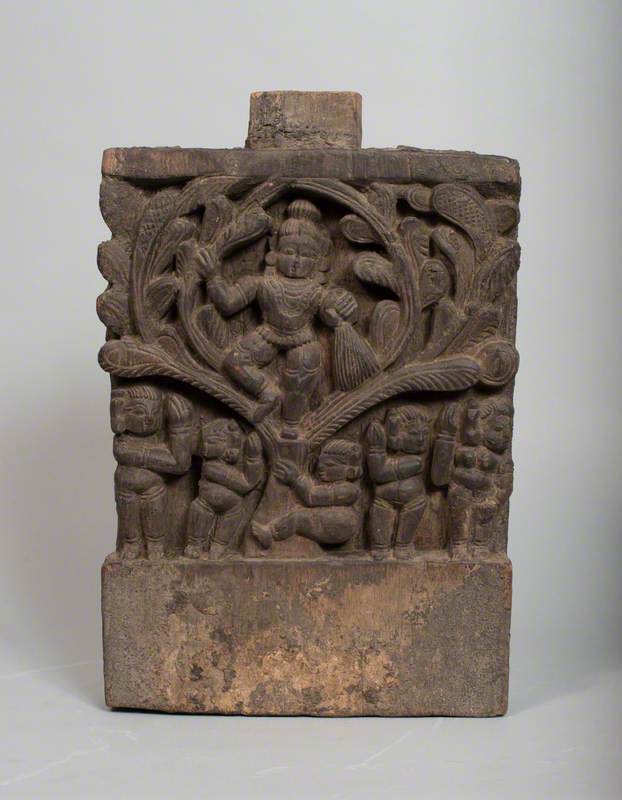
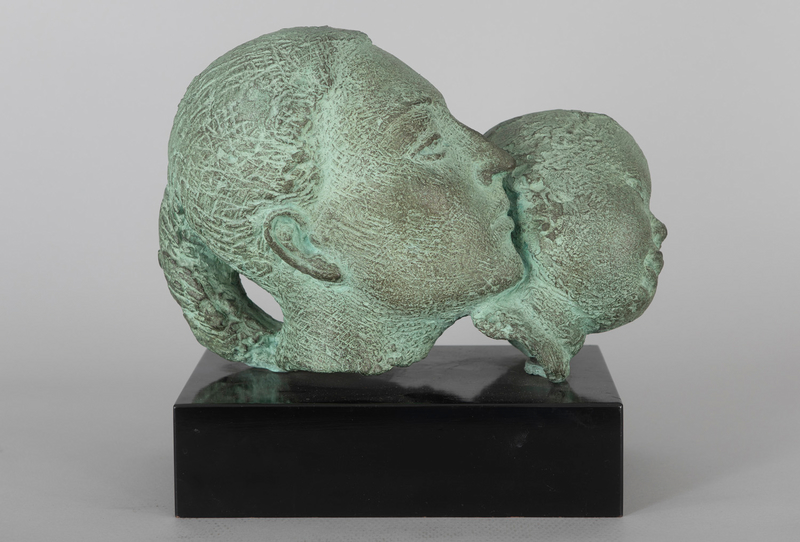
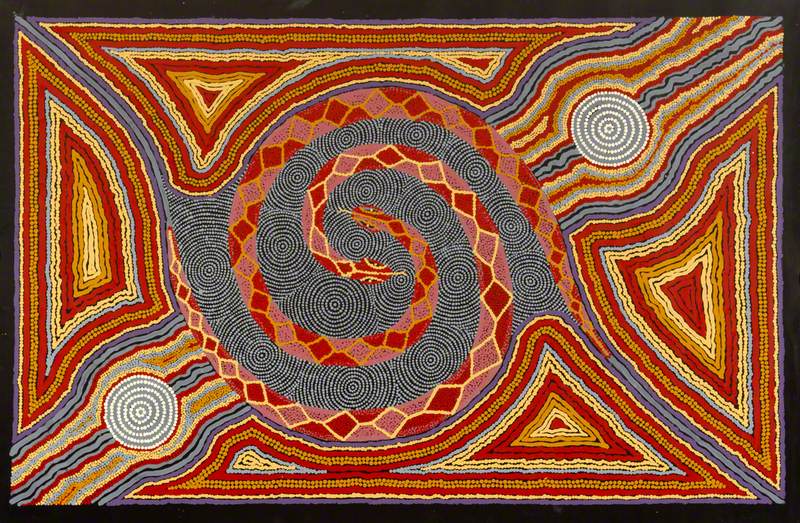
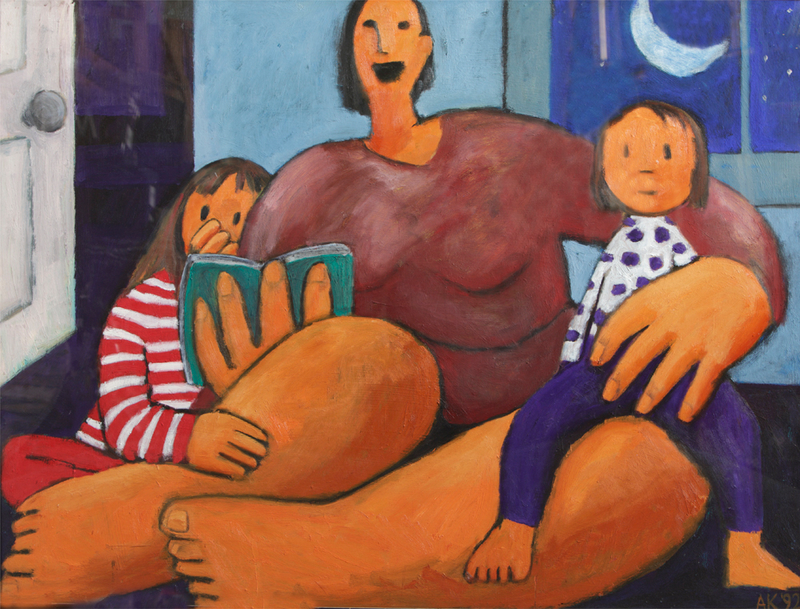
Scene from the Life of Krishna* 19th C
unknown artist
Once you are happy with your design draw it on a piece of card the same size and shape that your tile will be, to check that it fits.
This will be your tile template.
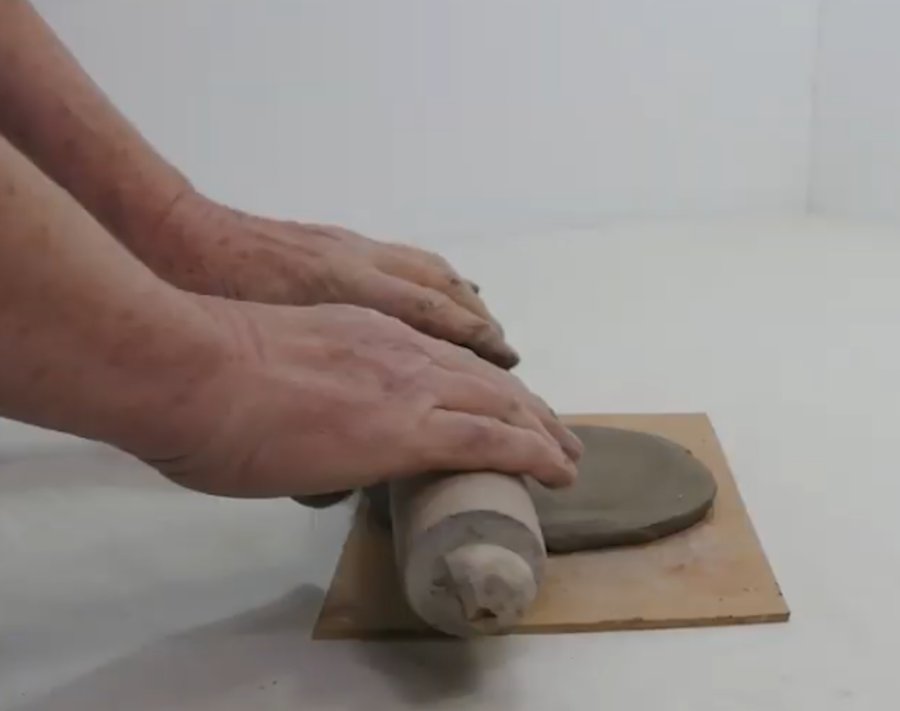
Step 2. Roll out your clay and model your tile
Roll out a thin slab of clay (approximately 1.5 cm thick) onto a board.
Use a roling pin to roll out clay
Then place your cardboard template onto your rolled clay and cut around it so that you have your basic tile shape.
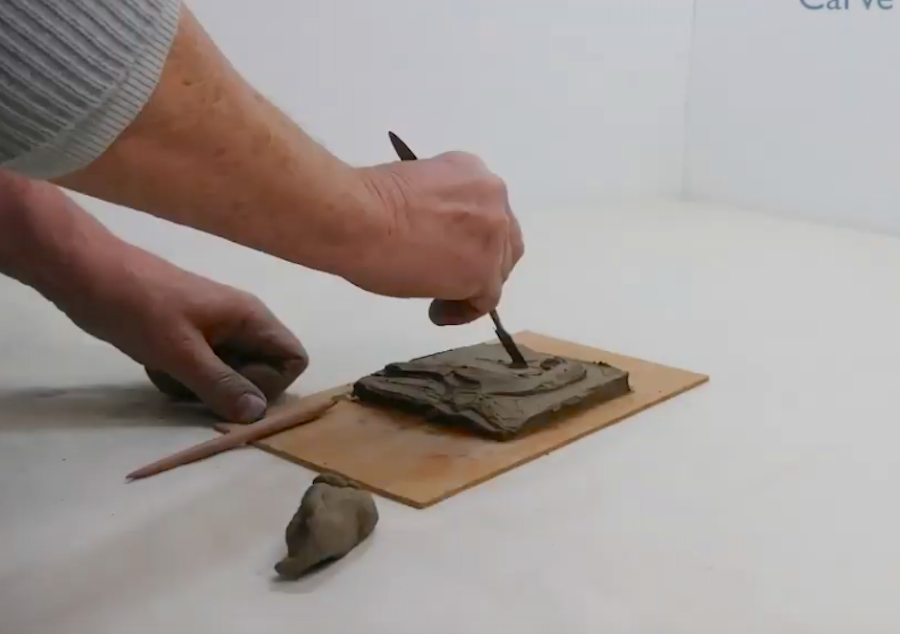
Mark out your design on your tile, and use clay tools (and your fingers!) to model your design in relief. You can always add more clay as necessary.
Use your clay tools to add final details.
Avoid undercuts (hollowing under the raised areas of the design).
Cutting and moulding a tlle design
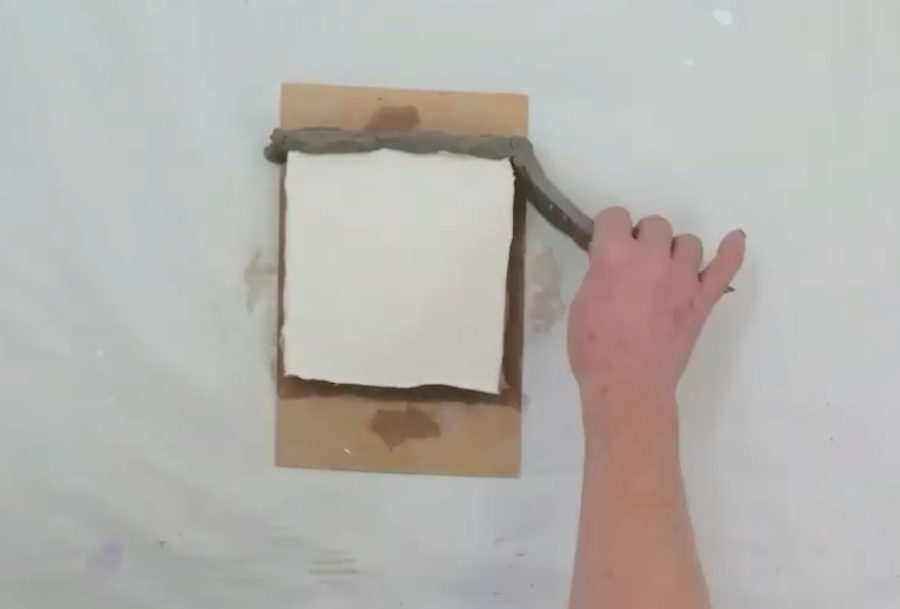
Step 3. Make a clay wall
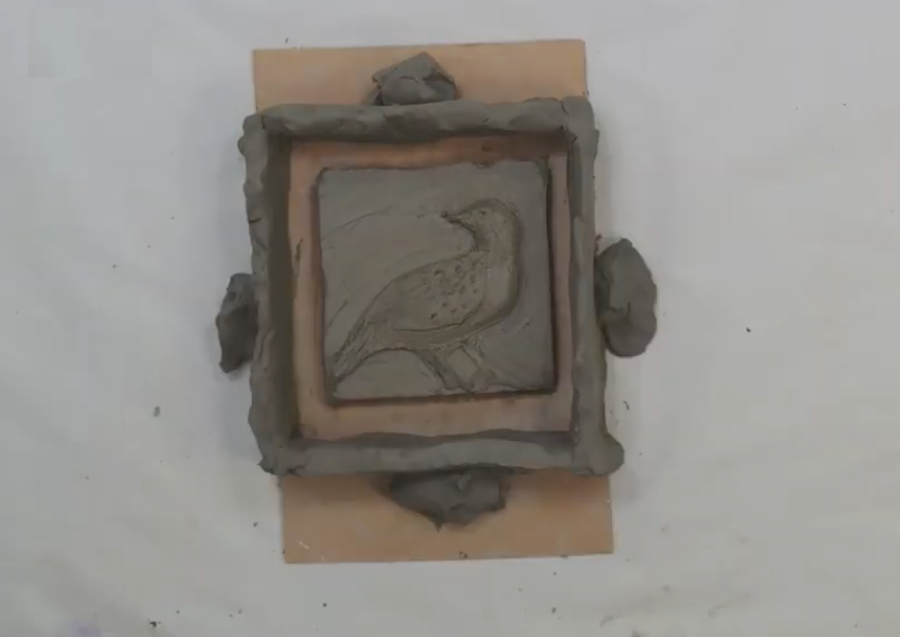
Use extra clay to make a clay wall around your tile. (This is to contain the plaster when it is poured in.)
Make sure your wall is sealed with no cracks.
You may need to add some lumps of clay to the outside edge of the wall to support it.
Brush some liquid soap onto the board. (This will stop the plaster from sticking to it.)
Make a clay wall aroud your tile
Step 4. Mix your plaster
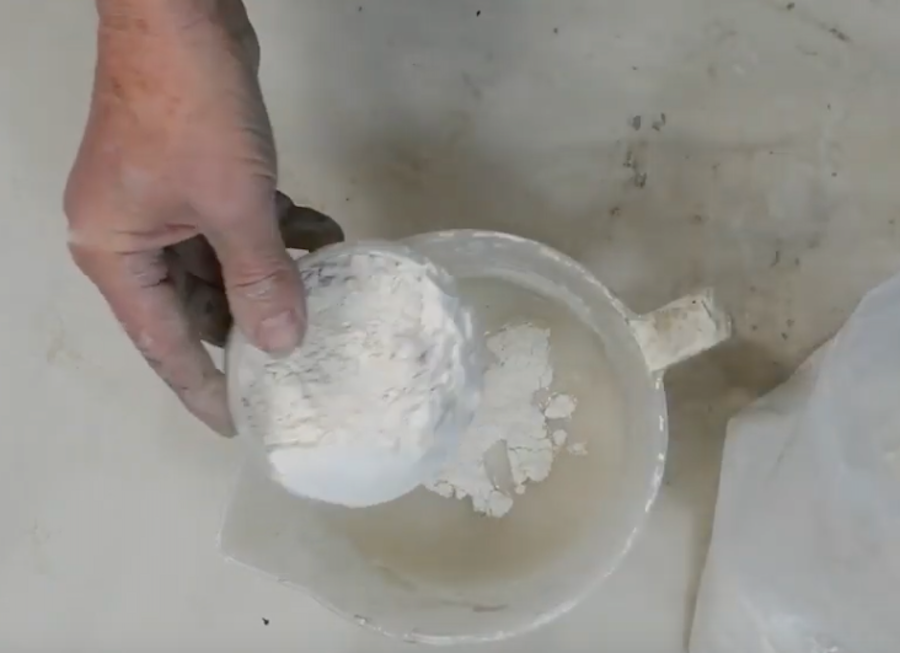
Fill your container with 300 ml of water and carefully pour in the plaster powder until a mound forms just above the water level. (There should be approximately one-part plaster to two-parts water.)
Adding plaster to the water
Mix the plaster using a stick or old spoon until it is smooth and the consistency of a milkshake. (Never use your hands to mix the plaster!)
Step 5. Pour your plaster over your tile
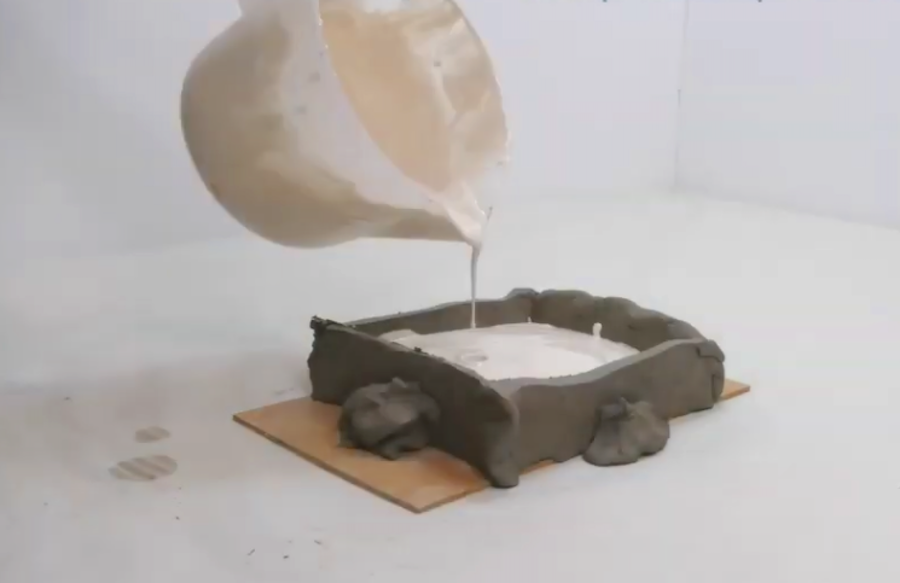
To avoid air bubbles forming, slowly and carefully pour the mixture into the mould and leave it to set. The plaster will begin setting immediately after it has been mixed, so be prepared to pour the mixture straight away. The plaster will begin to heat up as it sets.
Pouring plaster into the mould
Step 6. Prepare your mould
You will know the plaster is set when it is hard and cool to the touch.
Remove the clay wall and tile design from the plaster mould. Smooth any scruffy edges of the mould with your clay tools or sandpaper.
Removing the clay from the plaster mould
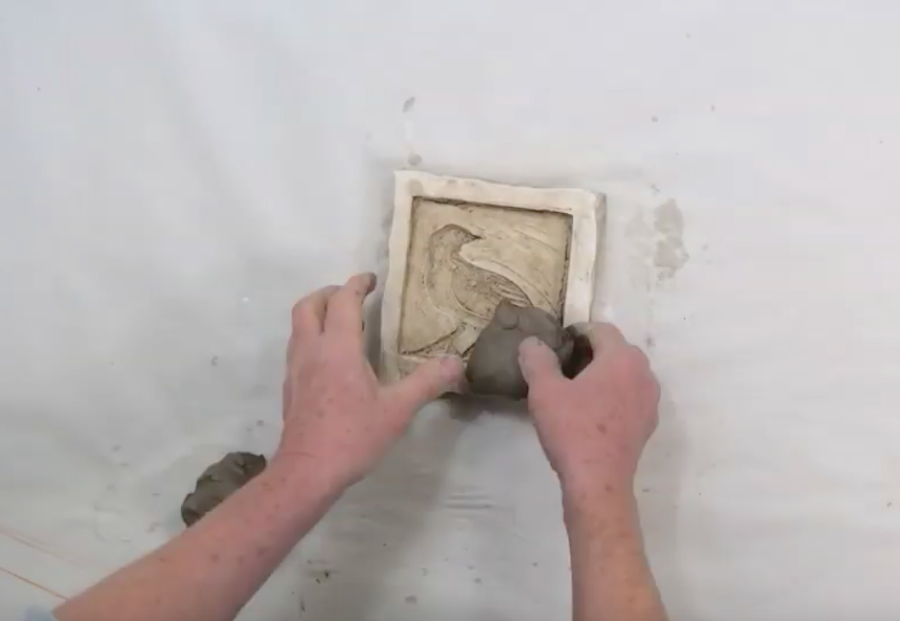
Step 7. Make your pressed tiles
Press clean clay into the mould to make your tiles.
Pressing clay into a mould
Use a wire to neatly cut off the excess clay from the back of the tile and make it flat.
(If you are having trouble removing the tile from the mould, gently press a lump of clay onto the back of the tile to pick it up.)
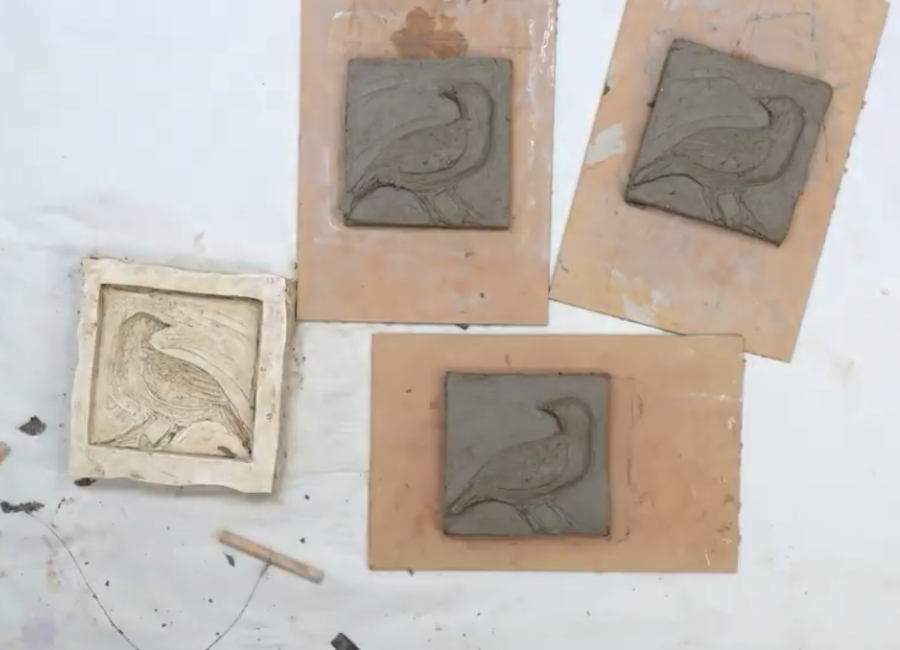
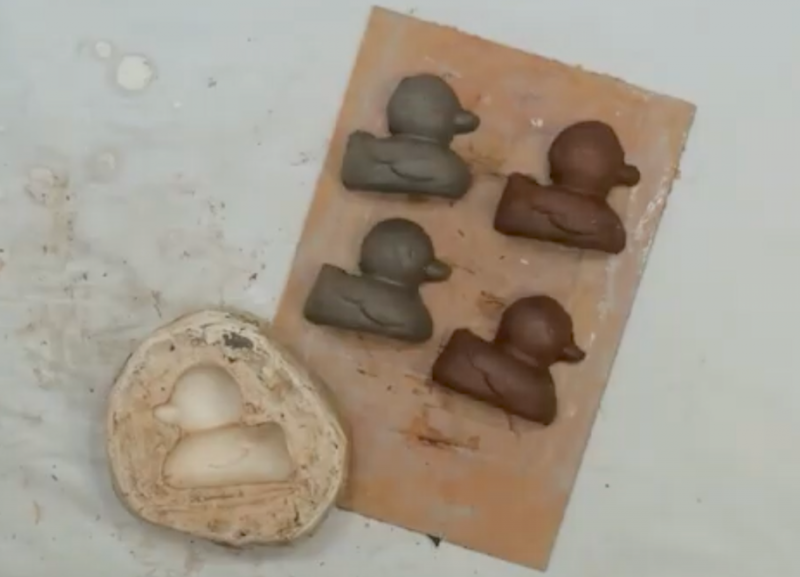
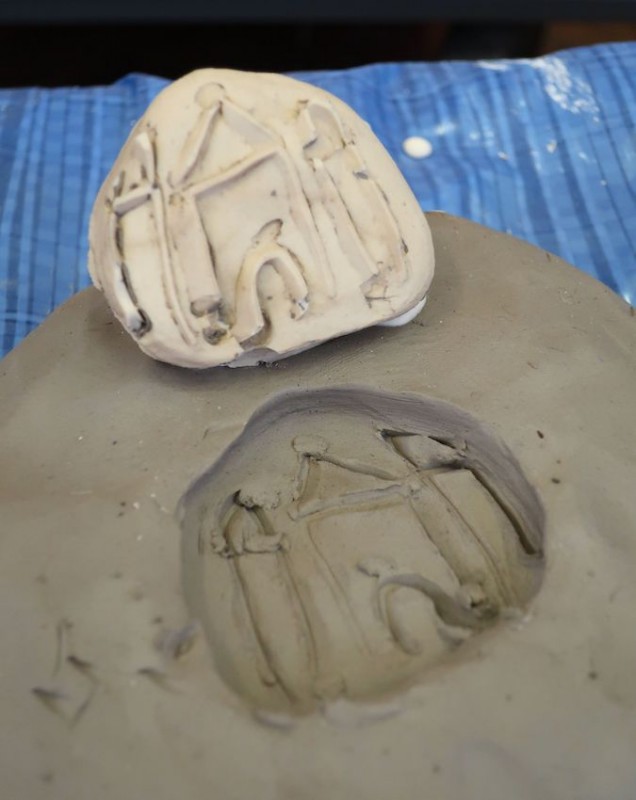
Now that you have your mould, you can make as many tiles as you like!
Mould with clay tiles
What will you do with your tiles?
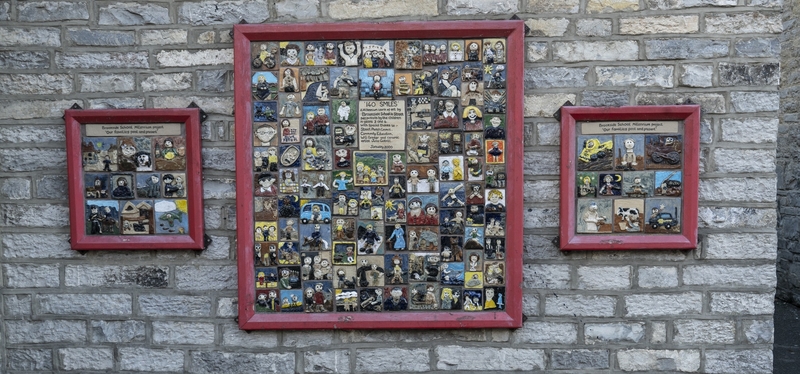
Plan a collaborative mural project with your students.
Task students with creating tiles on a specific theme that can then be arranged together to form a mural.
The designs could relate to your school, to local history, or could celebrate a national event or a remembrance day.
Julia Gatrill (active 2000) and W. G. Grinter (active 2000)
High Street, Street, Somerset
If you don't want a permanent mural, you could always attach the tiles to a board to display them. (Make sure the board is heavy and supported with a frame if necessary to carry the weight of the tiles!)
Do you know someone who would love this resource? Tell them about it...