For this activity, you will make a sculpture using discarded materials.
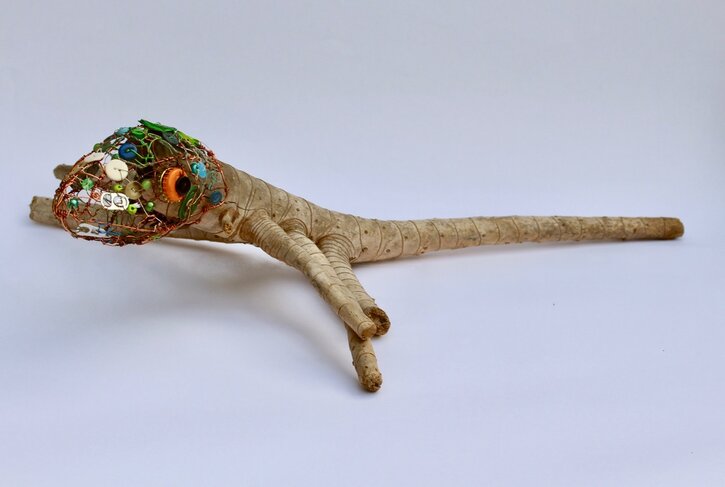
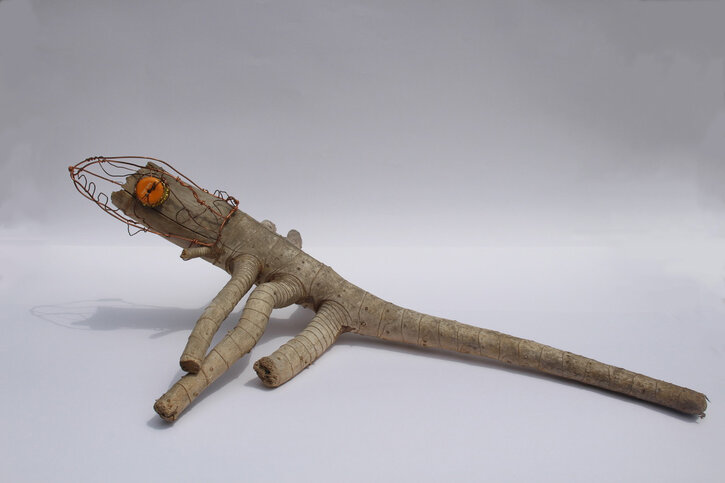
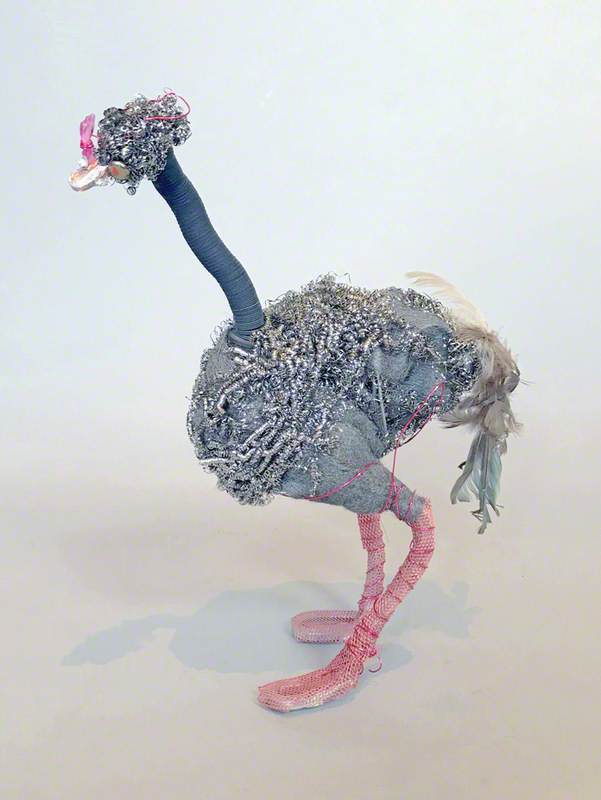
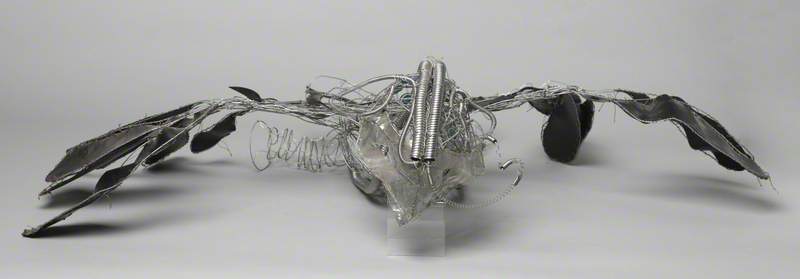
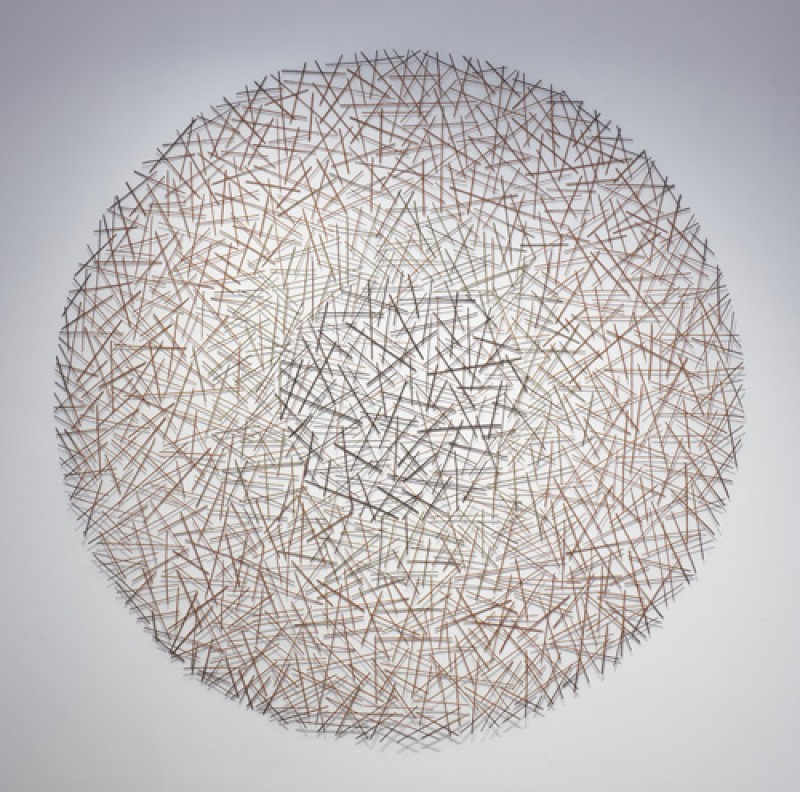
A wire hybrid creature by Fiona Campbell
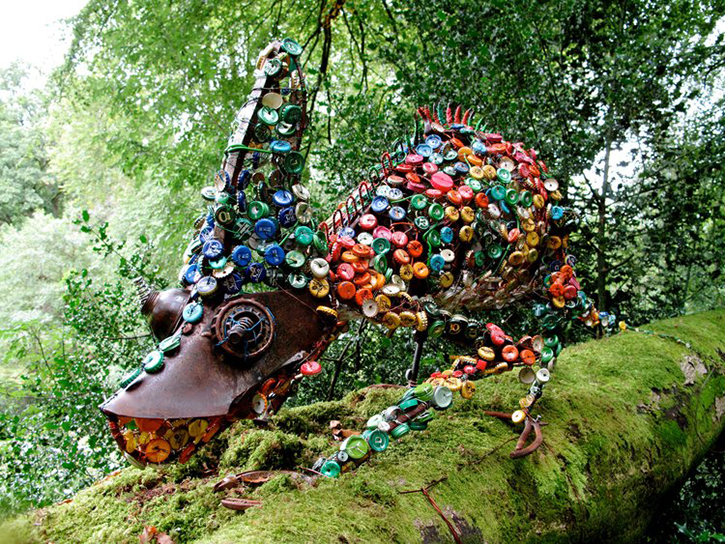
The inspiration for this activity is the sculpture Chameleon by artist Fiona Campbell. Chameleon began as a community project, in which participants helped to decorate a scrap steel structure with recycled bottle tops and buttons. The sculpture was sited at Stourhead, a National Trust property in Wiltshire.
This activity is suitable for Key Stage 2 & 3 (CfE level 2, 3 & 4; PS3) students who are confident using tools safely. Adult guidance and supervision are recommended for younger learners when selecting and using tools.
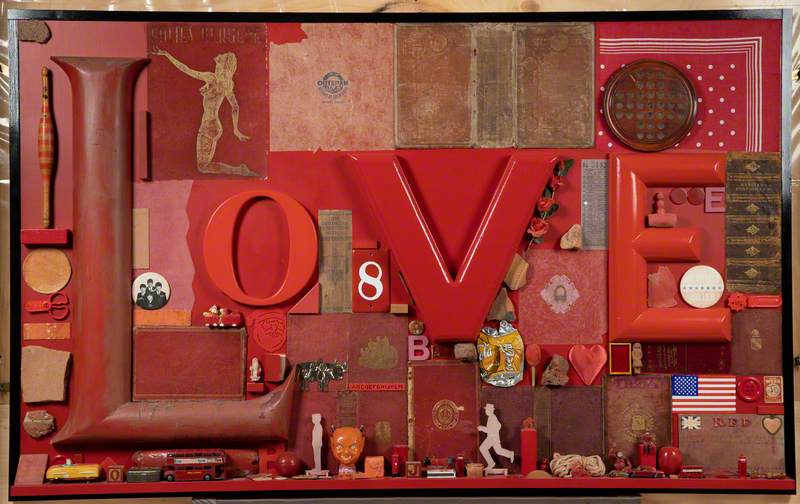
When found objects are used or attached together to make an artwork, this is known as assemblage.
In the 1910s, Picasso experimented with assemblage, creating three-dimensional artworks from wire, metal, scrap material and found objects. Later, in the 1950s and 1960s, Robert Rauschenberg used found objects to make what he described as anti-aesthetic sculptures. Many contemporary artists, including Fiona Campbell, continue to use found materials as a source of inspiration.
Find out more about found objects in art in this Art UK Curation:
Reusing and recycling materials is an important aspect of artist Fiona Campbell's practice. By noticing, collecting and reusing debris and discarded objects, she combats and comments on waste and the damage it wreaks on the environment.
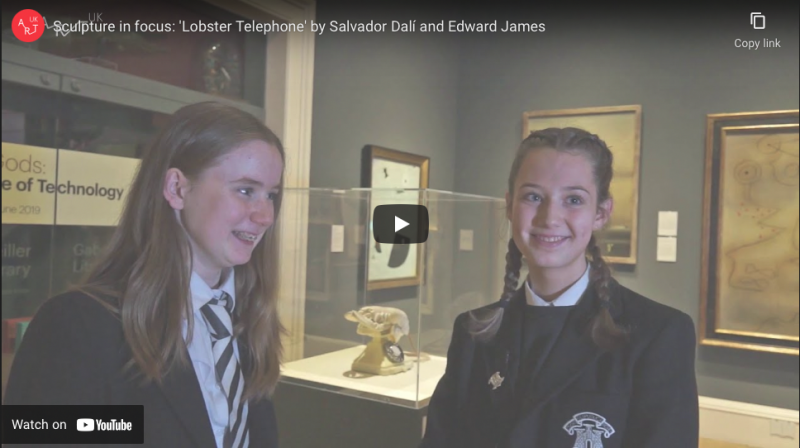
In this film, the artist talks about her practice and the importance of recycling objects and materials in her work.
The video may not be suitable for younger learners, but provides some interesting contextual information for this activity. If you are teaching older students you could watch the video as a class and discuss Fiona Campbell's techniques and the type of materials that she uses (and reuses) to create her sculptures.
Materials
Pencil and paper or sketchbook
Long-nosed pliers or cutters (optional, but these help with cutting and twisting wire)
Hammer and nail or drawing pin
Blu Tack (recycled if possible)
A small branch, stick or dried root
As much of the following unwanted, recycled materials as you can find:
Wire, thick and thin (such as copper and aluminium wire stripped from old cables)
Scrap components (small springs, colourful bottle tops, beads, buttons, washers, small keys, toys and other interesting objects with small holes)
Twine, string or coloured wool
Method
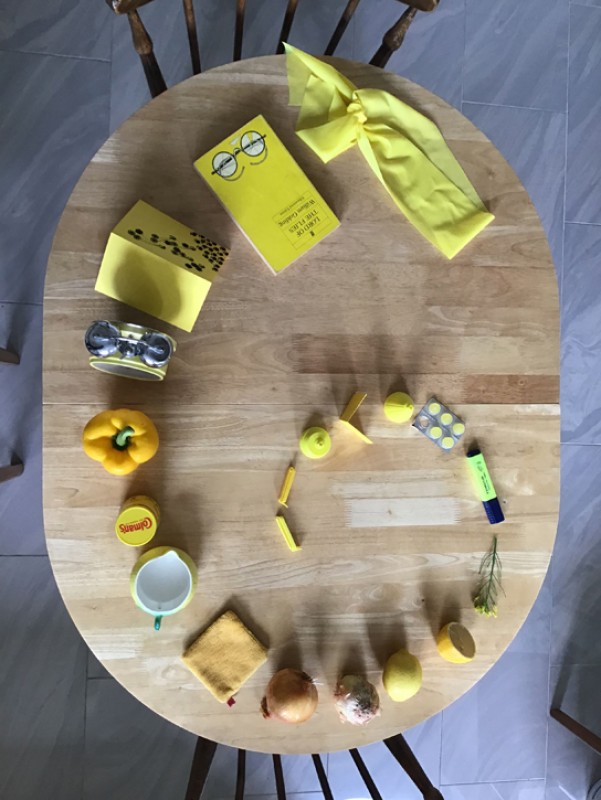
Step 1. Collect your materials
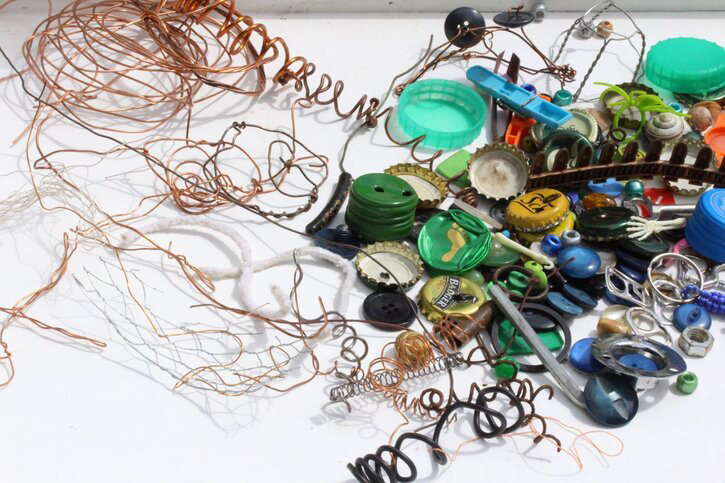
Part of the fun of this activity is gathering objects to use in your artwork! Collect materials, especially recycled and found objects.
Material examples
Find a small branch or root to use as the body of your creature.
You will also need wire to create your creature's head.
You could also look for buttons, bottle tops, beads, old keys, small toys ... objects with holes in them are great as you can easily attach them to your sculpture.
Find some old twine, string or wool.
Think of how you can transform these materials into a creature.
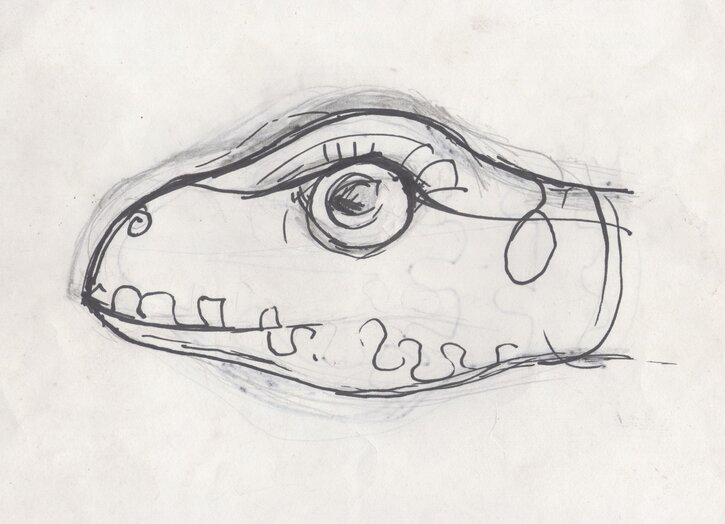
Step 2. Design your creature.
Decide what sort of head your creature will have. It might help to sketch some ideas and choose the one you like best. Have a look at animals and mythical creatures on Art UK for inspiration. Try typing an animal into the search box:
Make a template to scale of your design. Keep it simple and just draw the basic outlines. Make sure each line touches at least one other.
Template, creature head
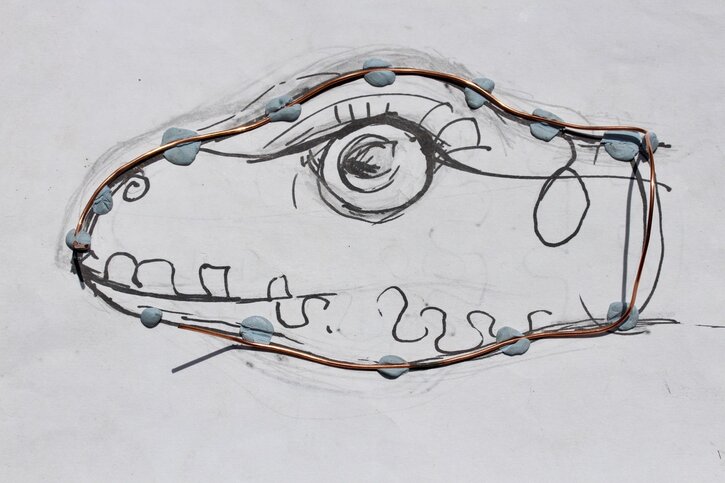
Step 3. Shape your wire
Add pea-sized pieces of Blu Tack around the main outline of your design. Then use thick wire to trace around the outline. Leave 1–2 cm of wire sticking up at each end so you can attach more wire if necessary.
Tracing with wire
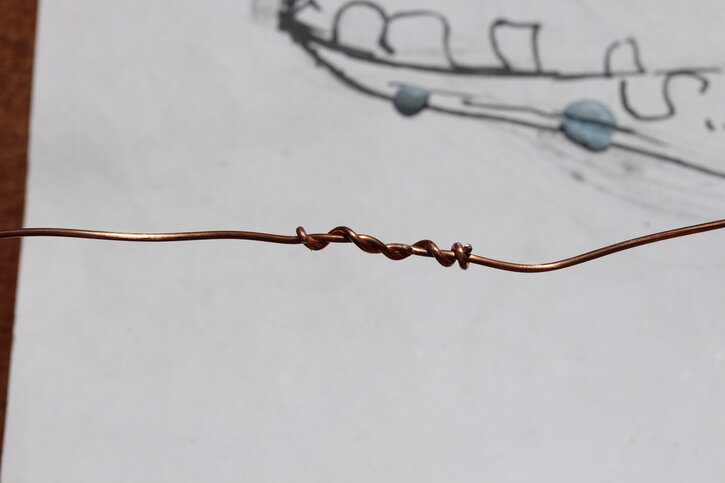
To join wires, cross the ends over, bring them underneath and over and wrap one around the other. Squeeze tightly with pliers if you have some. Wire can be easily manipulated with your fingers to reshape it.
An example of joined wires
Step 4. Create your 3D head structure
You will need to create a 'cage' effect so the wires become a woven, three-dimensional form. You can use thinner wire if it's easier.
Use pliers or fingers to help twist the wire around and squeeze the ends together tightly. Each time a wire reaches another, wrap it over and under at least once to secure it.
Woven three-dimensional form
Think about how you will be attaching your wire head to your found branch/stick. You'll need to create an opening at one end that fits over your branch or stick. Make sure your different parts are the right size.
Woven three-dimensional form attached to a branch
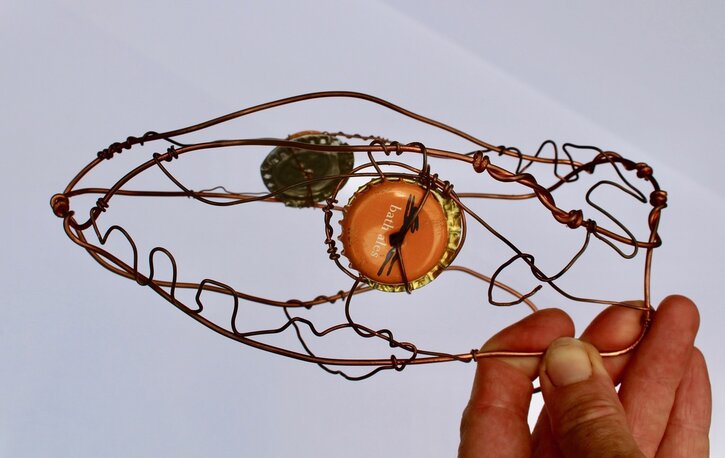
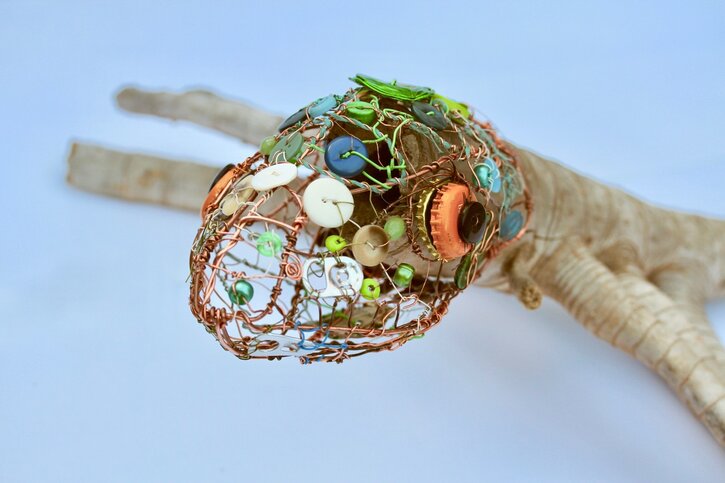
Step 5: Add details and decorate your head
Finished three-dimensional form
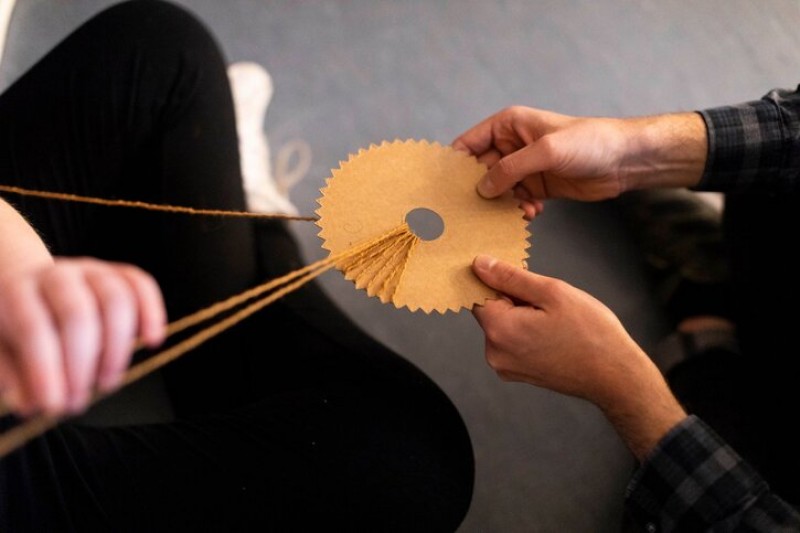
Wrap twine or wool around the wire to make it more colourful. Get someone to hold your twine taut while you wrap (watch out for your eyes!).
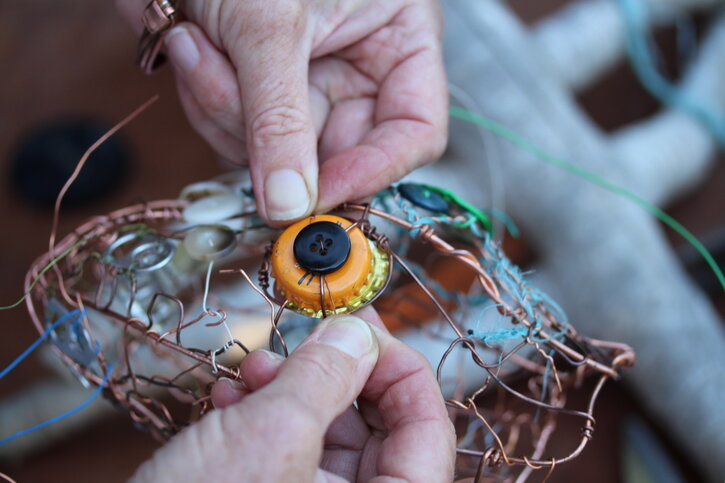
For your creature's eyes, you could use large beads, buttons or bottle tops with buttons layered over them, so they look like real eyes with a pupil. Make 1 or 2 small holes in your bottle tops with your hammer and nail. Thread thin wire through the holes and attach them to the head of your creature.
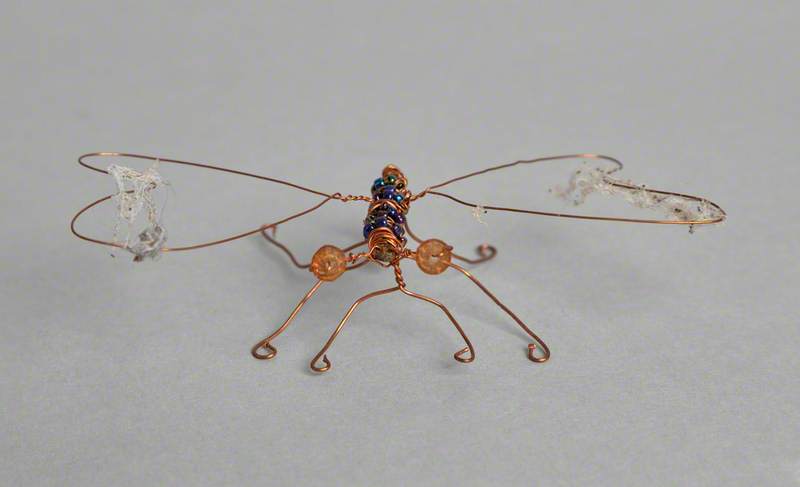
Add antennae, tentacles, and a mouth or a tail using zig zags or spirals of wire. Use springs or make spirals by wrapping wire around a pencil (not too tightly) and pulling it off. Zig-zags can be made by bending the wire at a sharp angle – first one way then the other – up and down.
For more decoration, add more bottle tops, buttons and beads by threading thin wire or wool through the holes to attach them. You could also attach small keys, toys or anything else you have gathered.
Hybrid creature made from found objects
Step 6: Fix your decorated head onto the branch body
Attach your decorated head to your branch or root body to create your hybrid creature. Use pliers to tighten the wire of the head opening to hold it in place.
A wire hybrid creature by Fiona Campbell
Development idea: take your creature on an adventure!
Fiona Campbell's sculpture Chameleon was sited on a fallen tree overlooking the lake in the grounds of Stourhead. Think about locations where you could place your creature for maximum impact!
Take it on an adventure. Photograph it in outdoor settings such as peeping out from under a plant or wandering up a path. You could create a story about your creature and use the photographs to tell the story, adding text boxes and speech bubbles to make your story come alive!
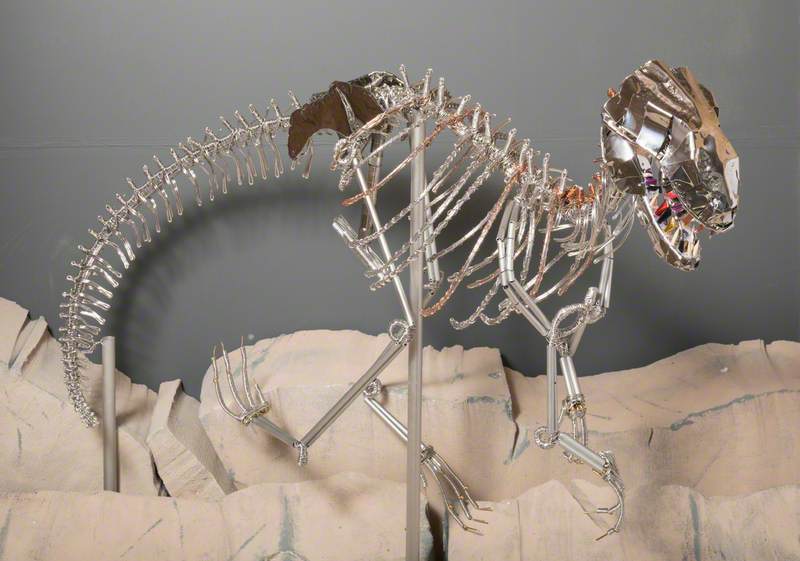
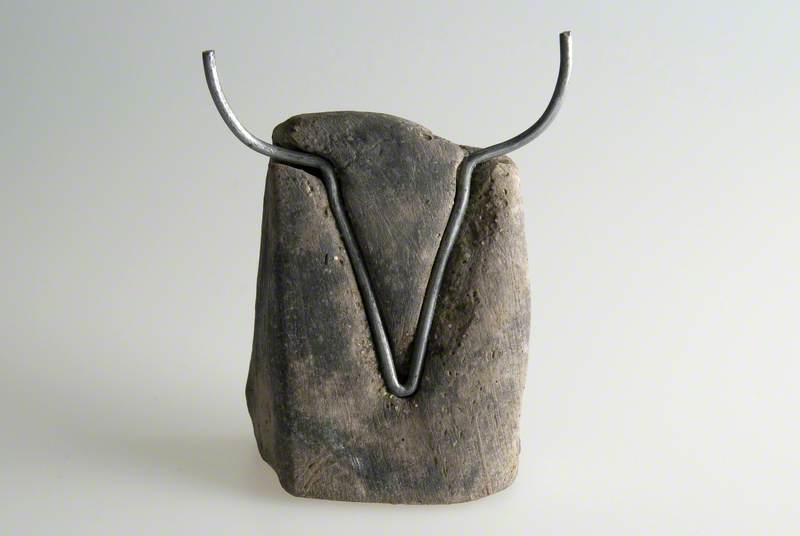
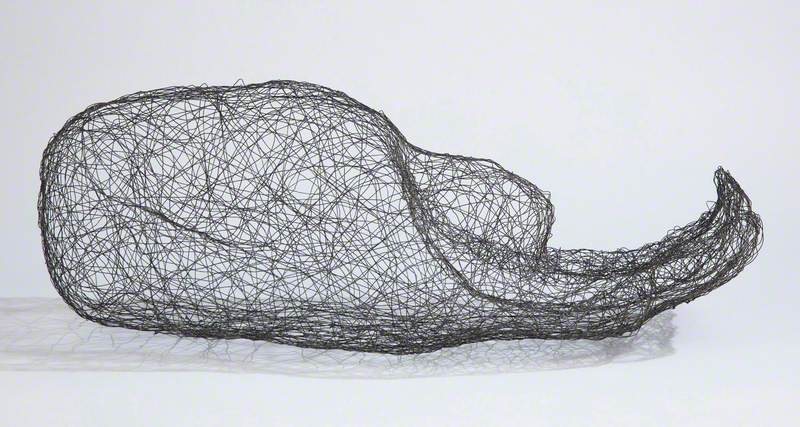
More wire creatures
Explore more artwork creatures made from wire and recycled or found materials and find inspiration for your next wire sculpture project.